Introduction
Due to currently pursuing my master's degree in Civil Engineering at the Federal University of Santa Maria (UFSM), laboratory practice is part of my daily routine. The research line of the graduate program I belong to is in Construction Materials and Building Systems. My study object is, more precisely, structural masonry and its components. Thus, it is common for us to work with cementitious mortars and their technological control. In this article, I intend to present a brief description of the most common testing procedures, as a source for future reference.
Mortar
Mortar is a versatile material in civil construction, with specific purposes: due to its ease of shaping and plasticity, it can be used as a coating or as a bonding element between units of other materials, such as ceramic blocks. This plasticity is obtained in the fresh state, allowing it to be molded into different shapes and promoting adhesion to surfaces.
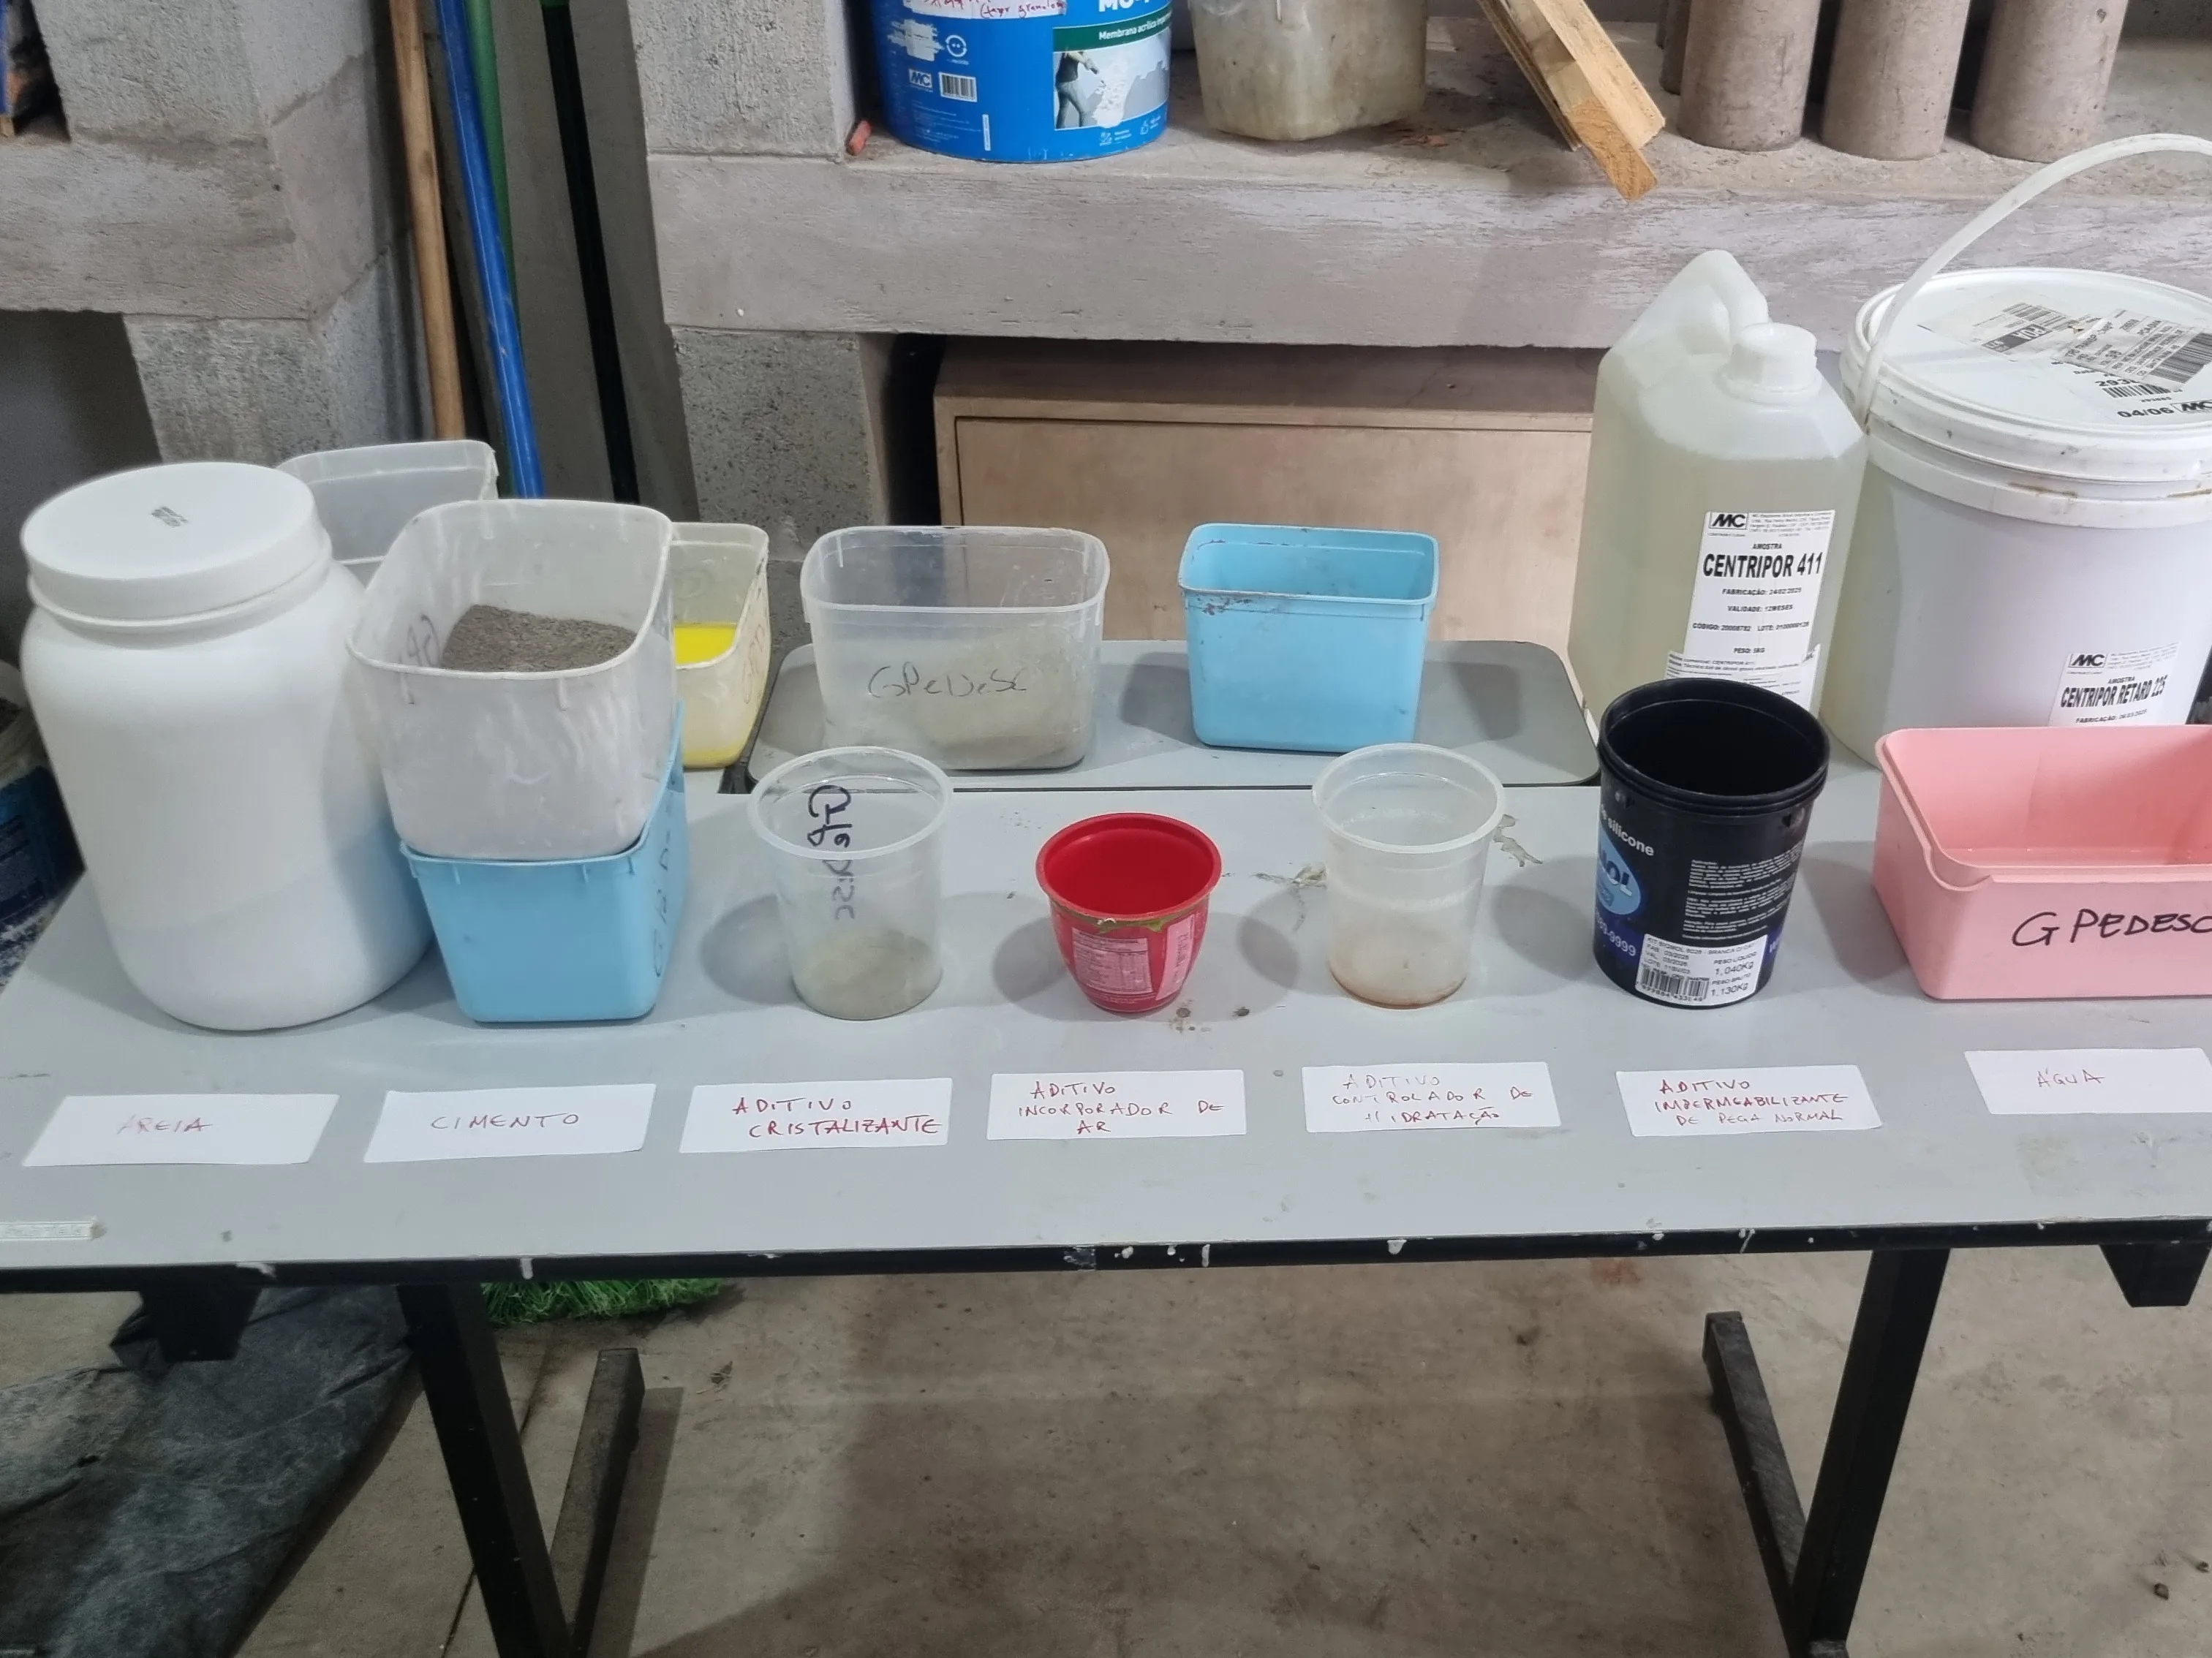
Mortar consists of binding materials, fine aggregates, water, and, occasionally, additives.
The main components are:
- Cement: a hydraulic binder that reacts with water and ensures the strength gain of the mortar;
- Lime: an air binder that reacts with the carbon dioxide in the air, contributing to plasticity in the fresh state and long-term strength;
- Fine aggregates: usually natural or artificial sand, responsible for volumetric stability and reduction of shrinkage;
- Water: ensures workability of the mortar and participates in the hydration reactions of cement;
- Additives: improve specific properties, such as workability, water retention, air incorporation, and setting time.
Technological Control of Mortar
Whether on-site or in an academic environment, knowledge of the characteristics of the materials used should be mandatory. We cannot certify the quality of what we cannot measure. Thus, conducting characterization tests is a fundamental procedure.
Below, I present a summary of the main procedures used in the laboratory for the characterization of mortars in both the fresh and hardened states.
Mixing the Mortar — NBR 16541
Everything starts with mixing the mortar. It is necessary to follow a standardized procedure to ensure reproducibility of results, as factors such as mixing time, applied energy, and the order of material addition directly influence the final behavior of the material.
Required Equipment
- Laboratory environment with controlled temperature and relative humidity;
- Mechanical mixer with slow and fast speeds;
- Scale with a minimum precision of 0.1 g;
- Spatulas and graduated cylinders;
- Stopwatch.
Procedure
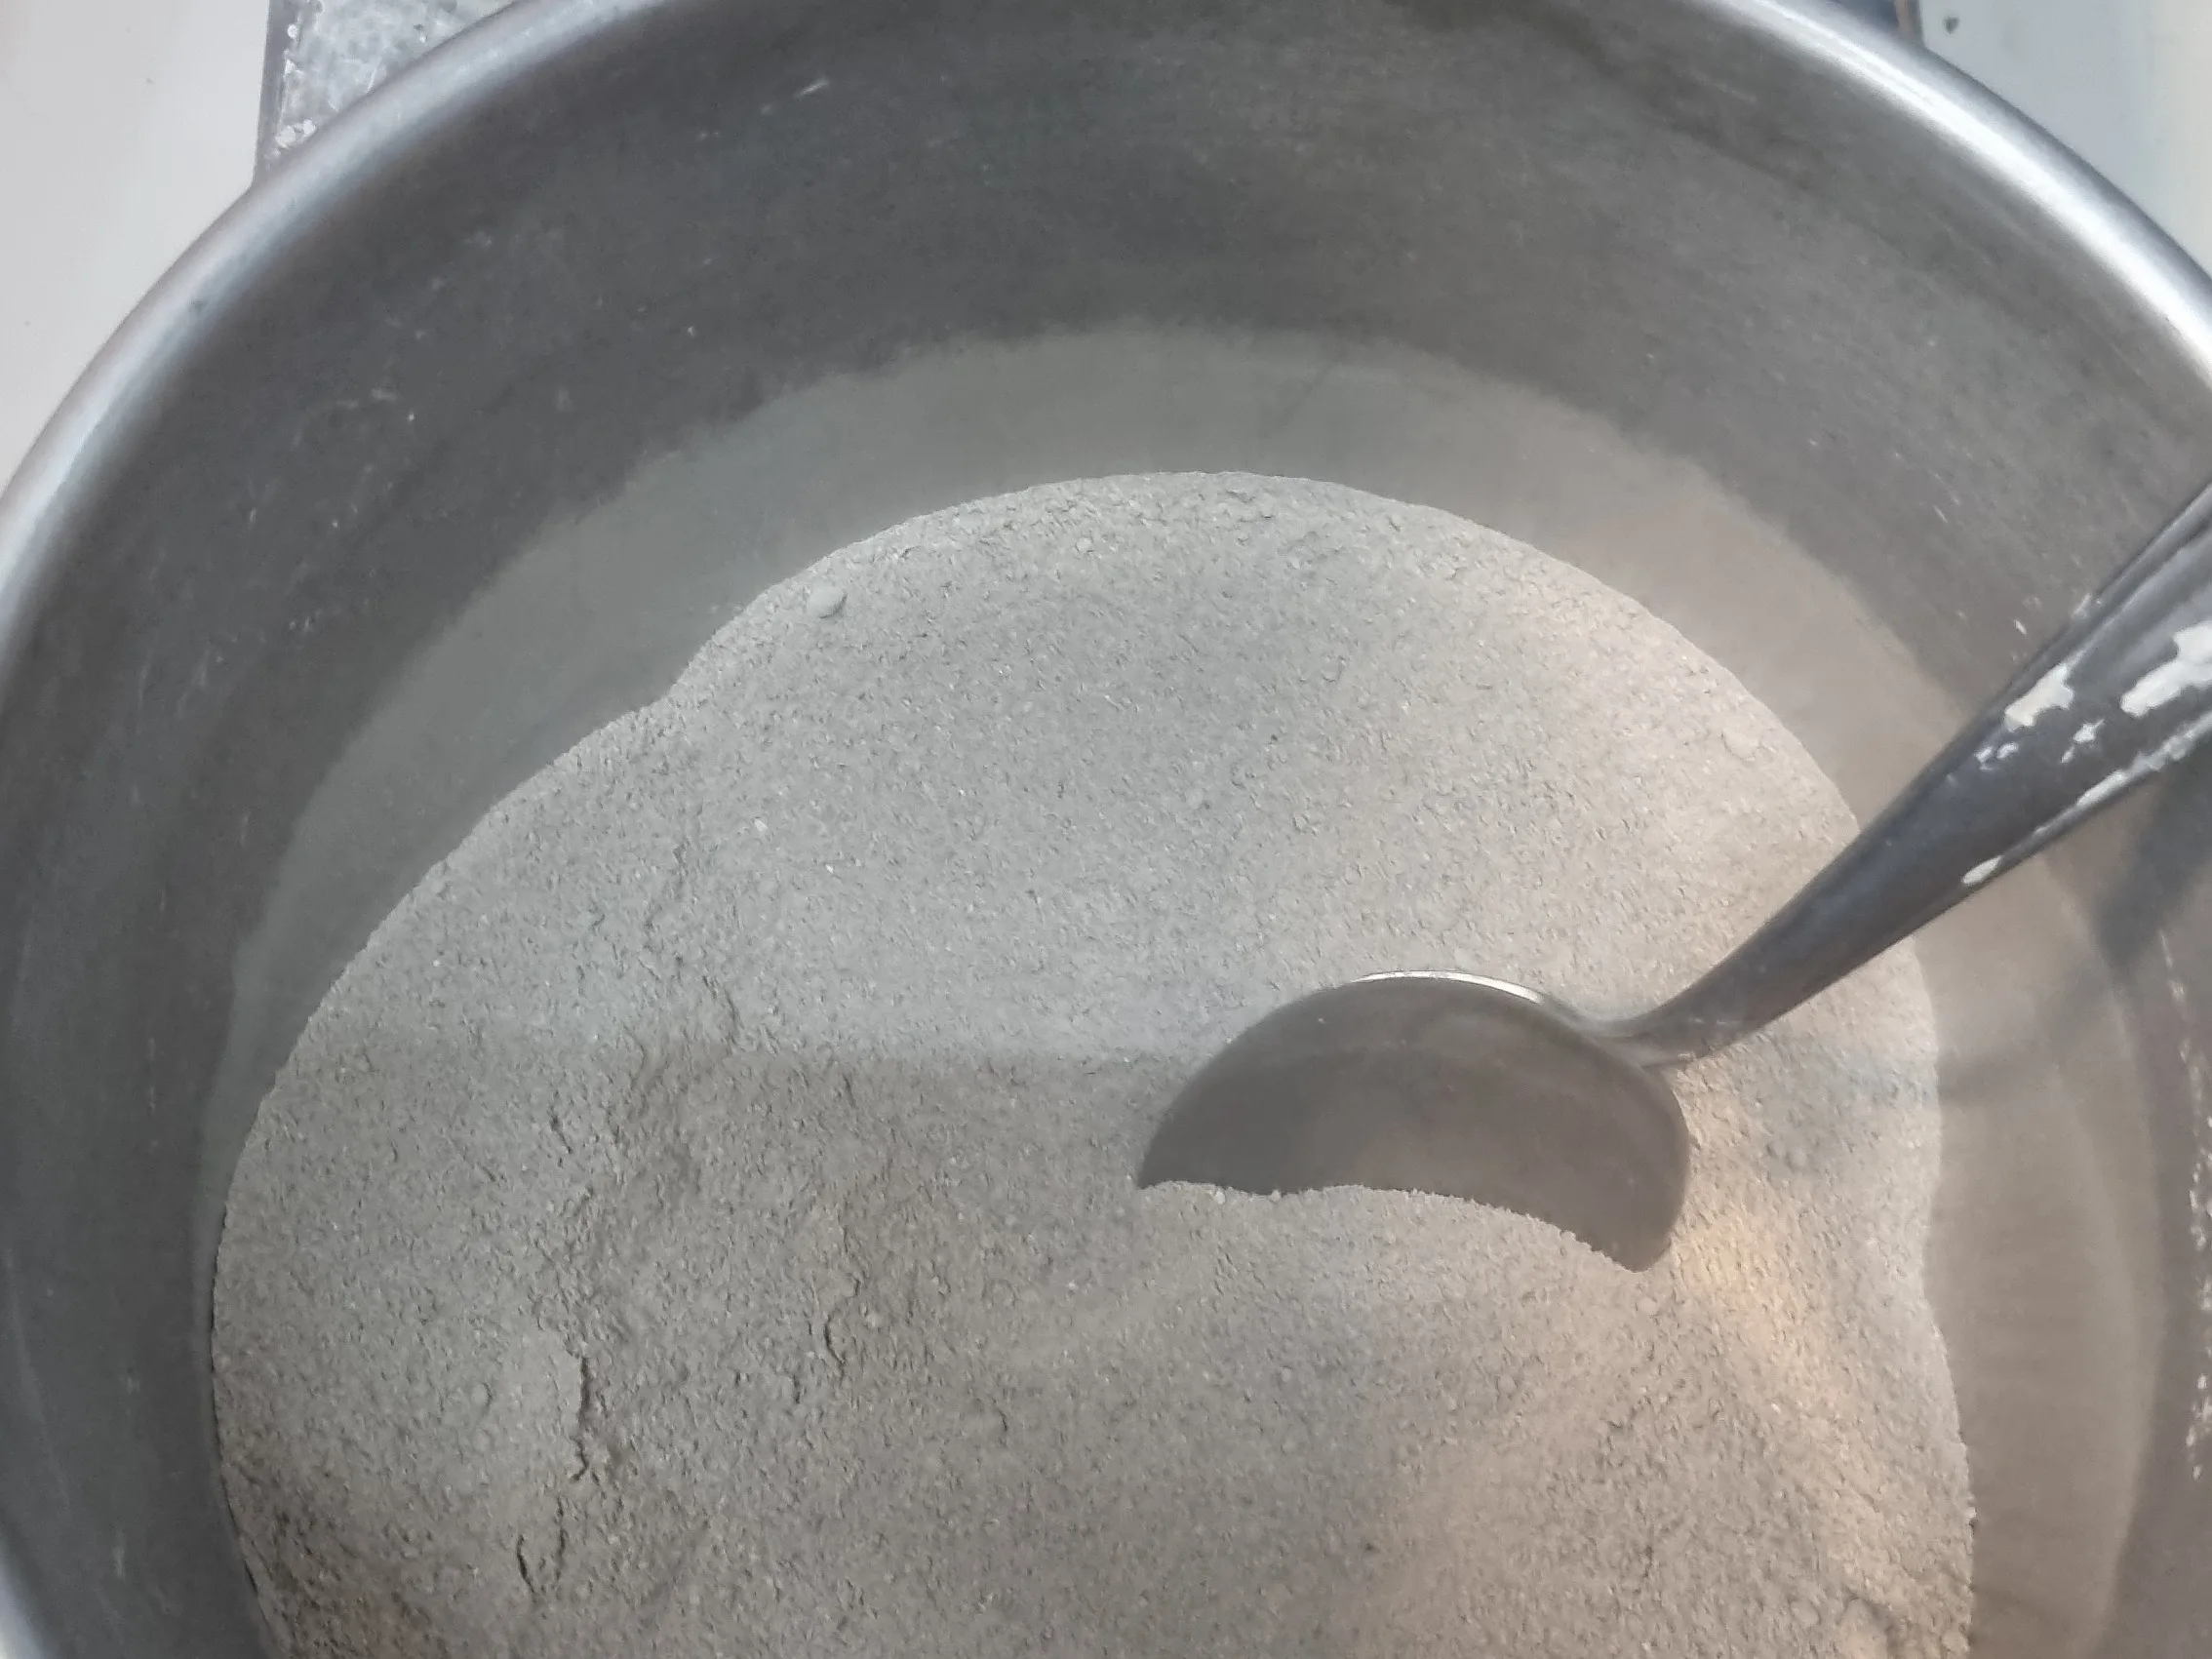
- Step 1: weigh the materials according to the specified mix. It is recommended to work always with mass proportions.
- Step 2: mix the dry materials in the mixer.
- Step 3: start the mixer at low speed and add 75% of the water in the first 10 seconds. Maintain the mixing for 30 seconds from the start.
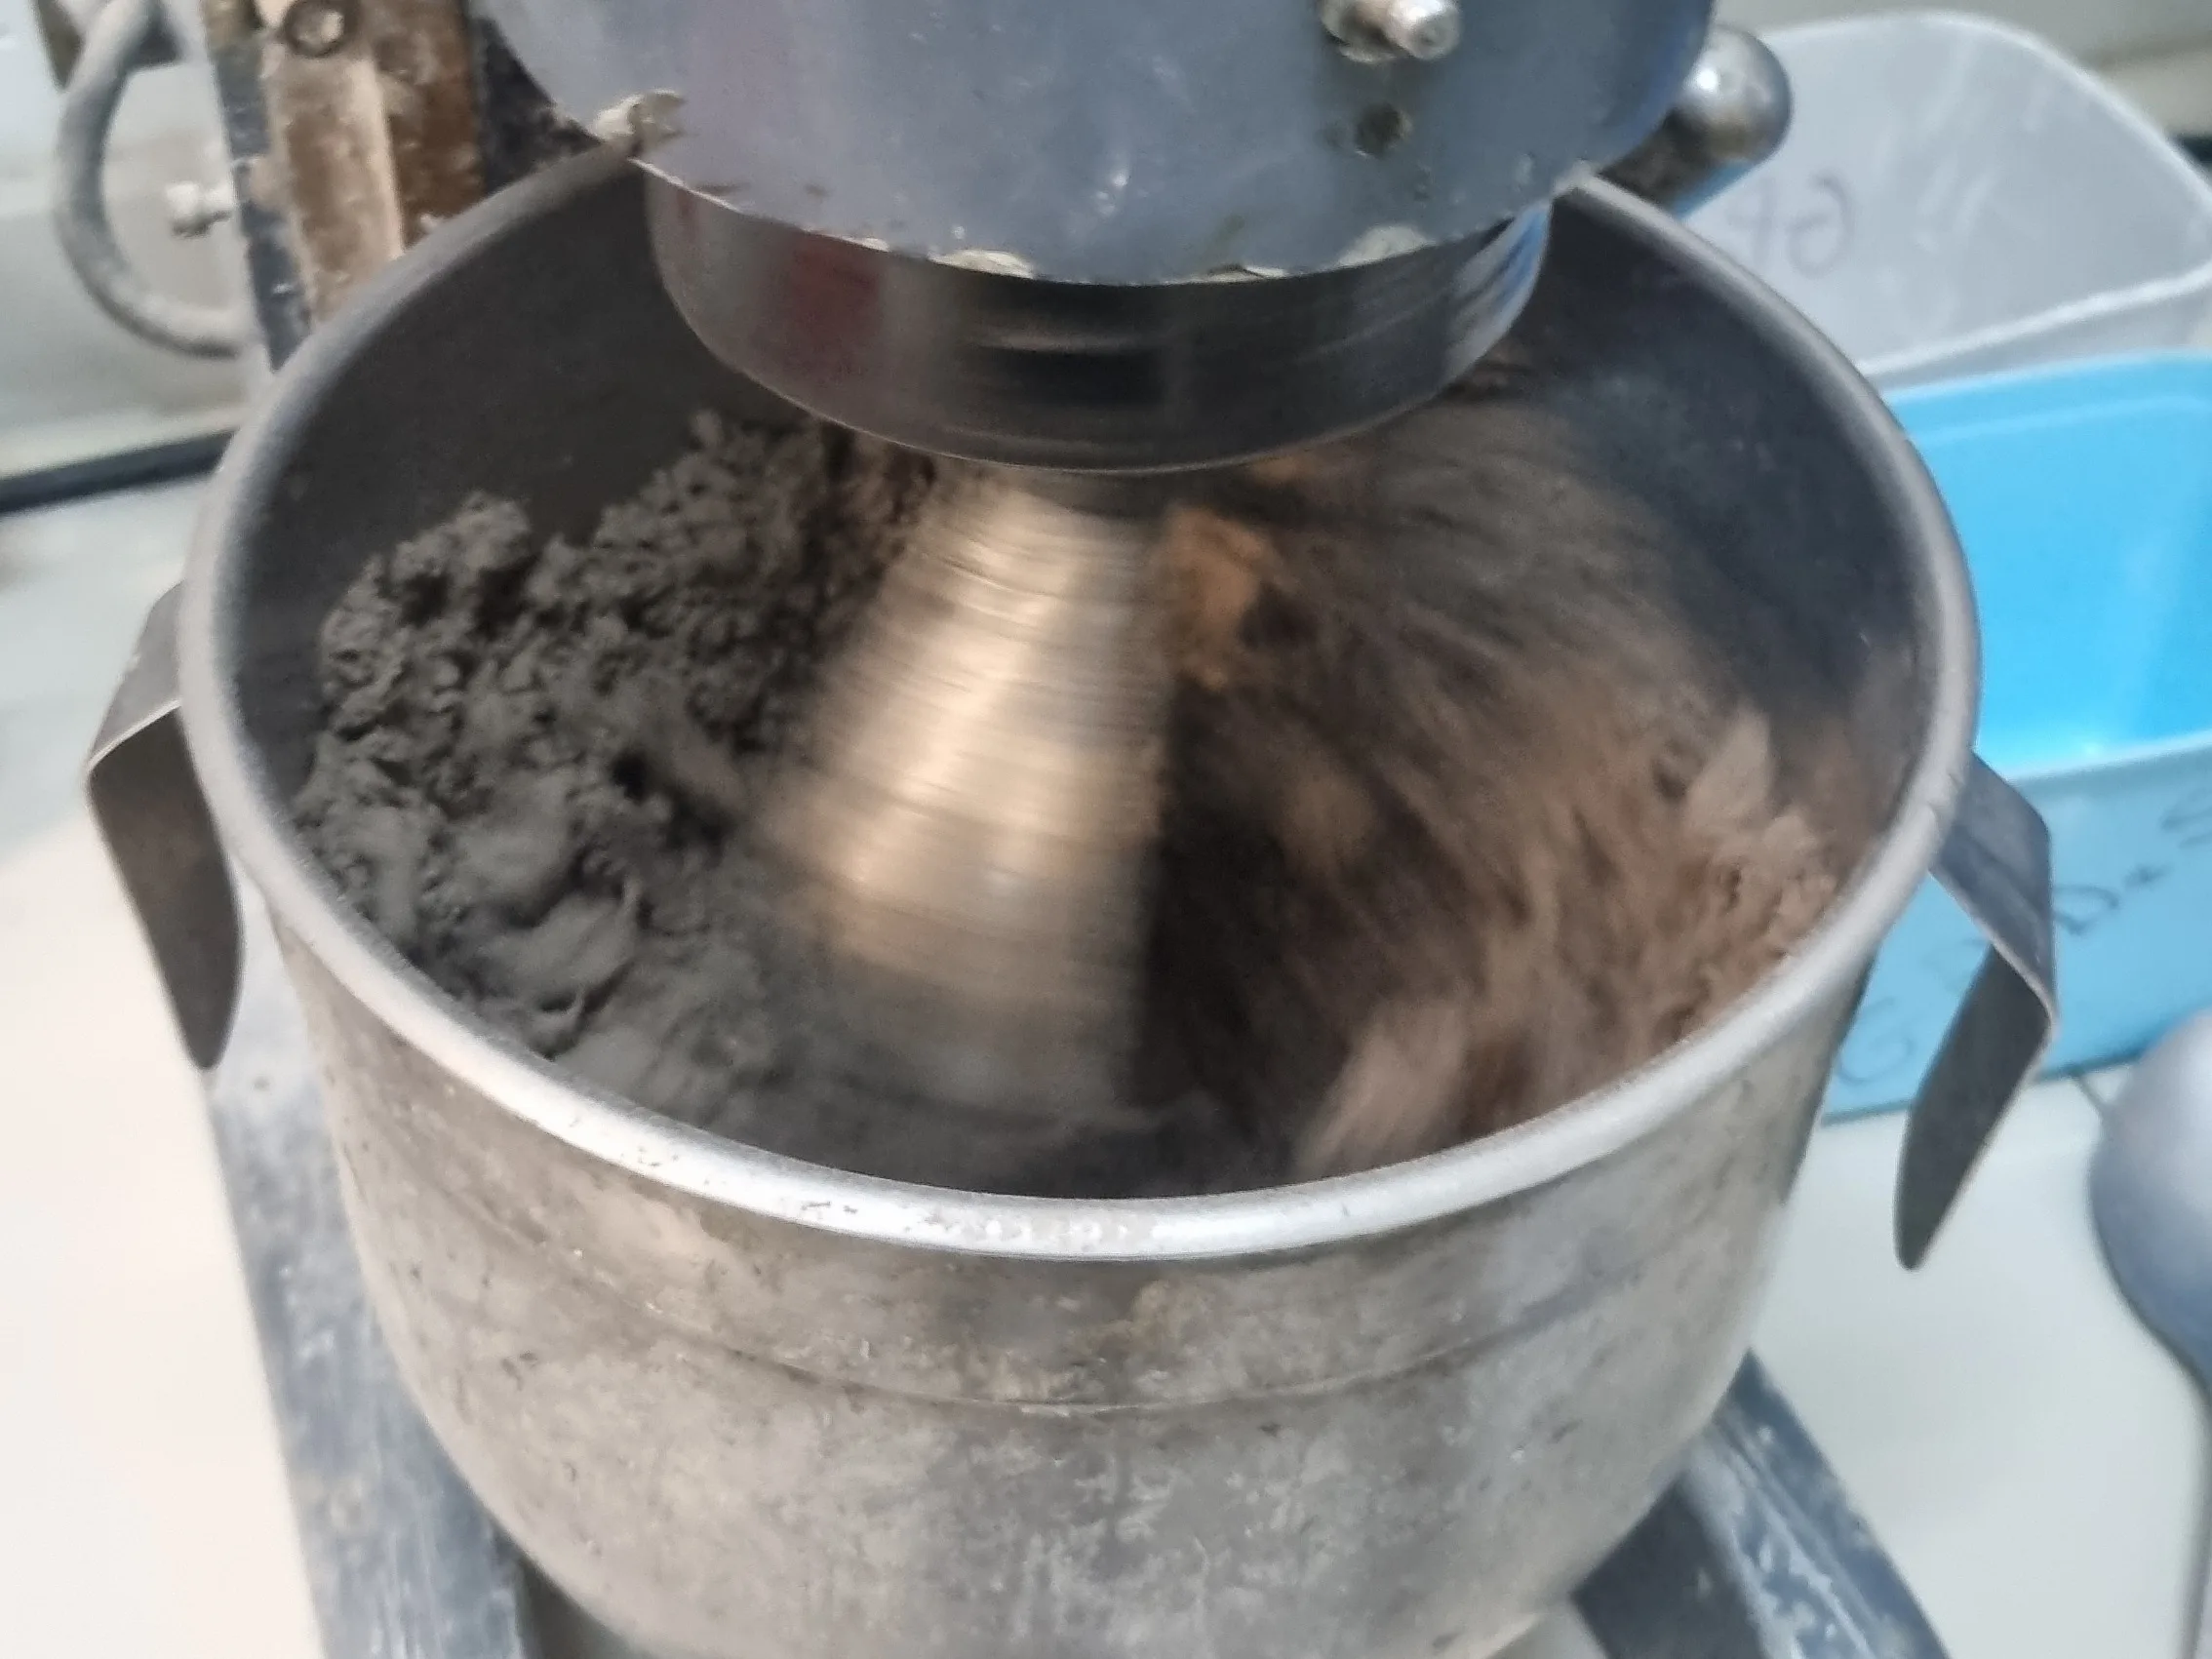
- Step 4: switch to high speed and mix for another 60 seconds.
- Step 5: stop mixing, remove the blade, and scrape off the material adhered to the inner surfaces of the container and the blade. This step should last 90 seconds.
- Step 6: return to low speed, add the remaining 25% of the water in 10 seconds, and continue mixing until completing an additional 30 seconds, or the time specified by the manufacturer.
Determination of Consistency Index — NBR 13276
The consistency index aims to evaluate the workability of mortar in the fresh state.
Required Equipment
- Consistency index table;
- Conical mold;
- Metal tamper;
- Metal ruler or caliper;
- Clean and dry cloth.
Procedure
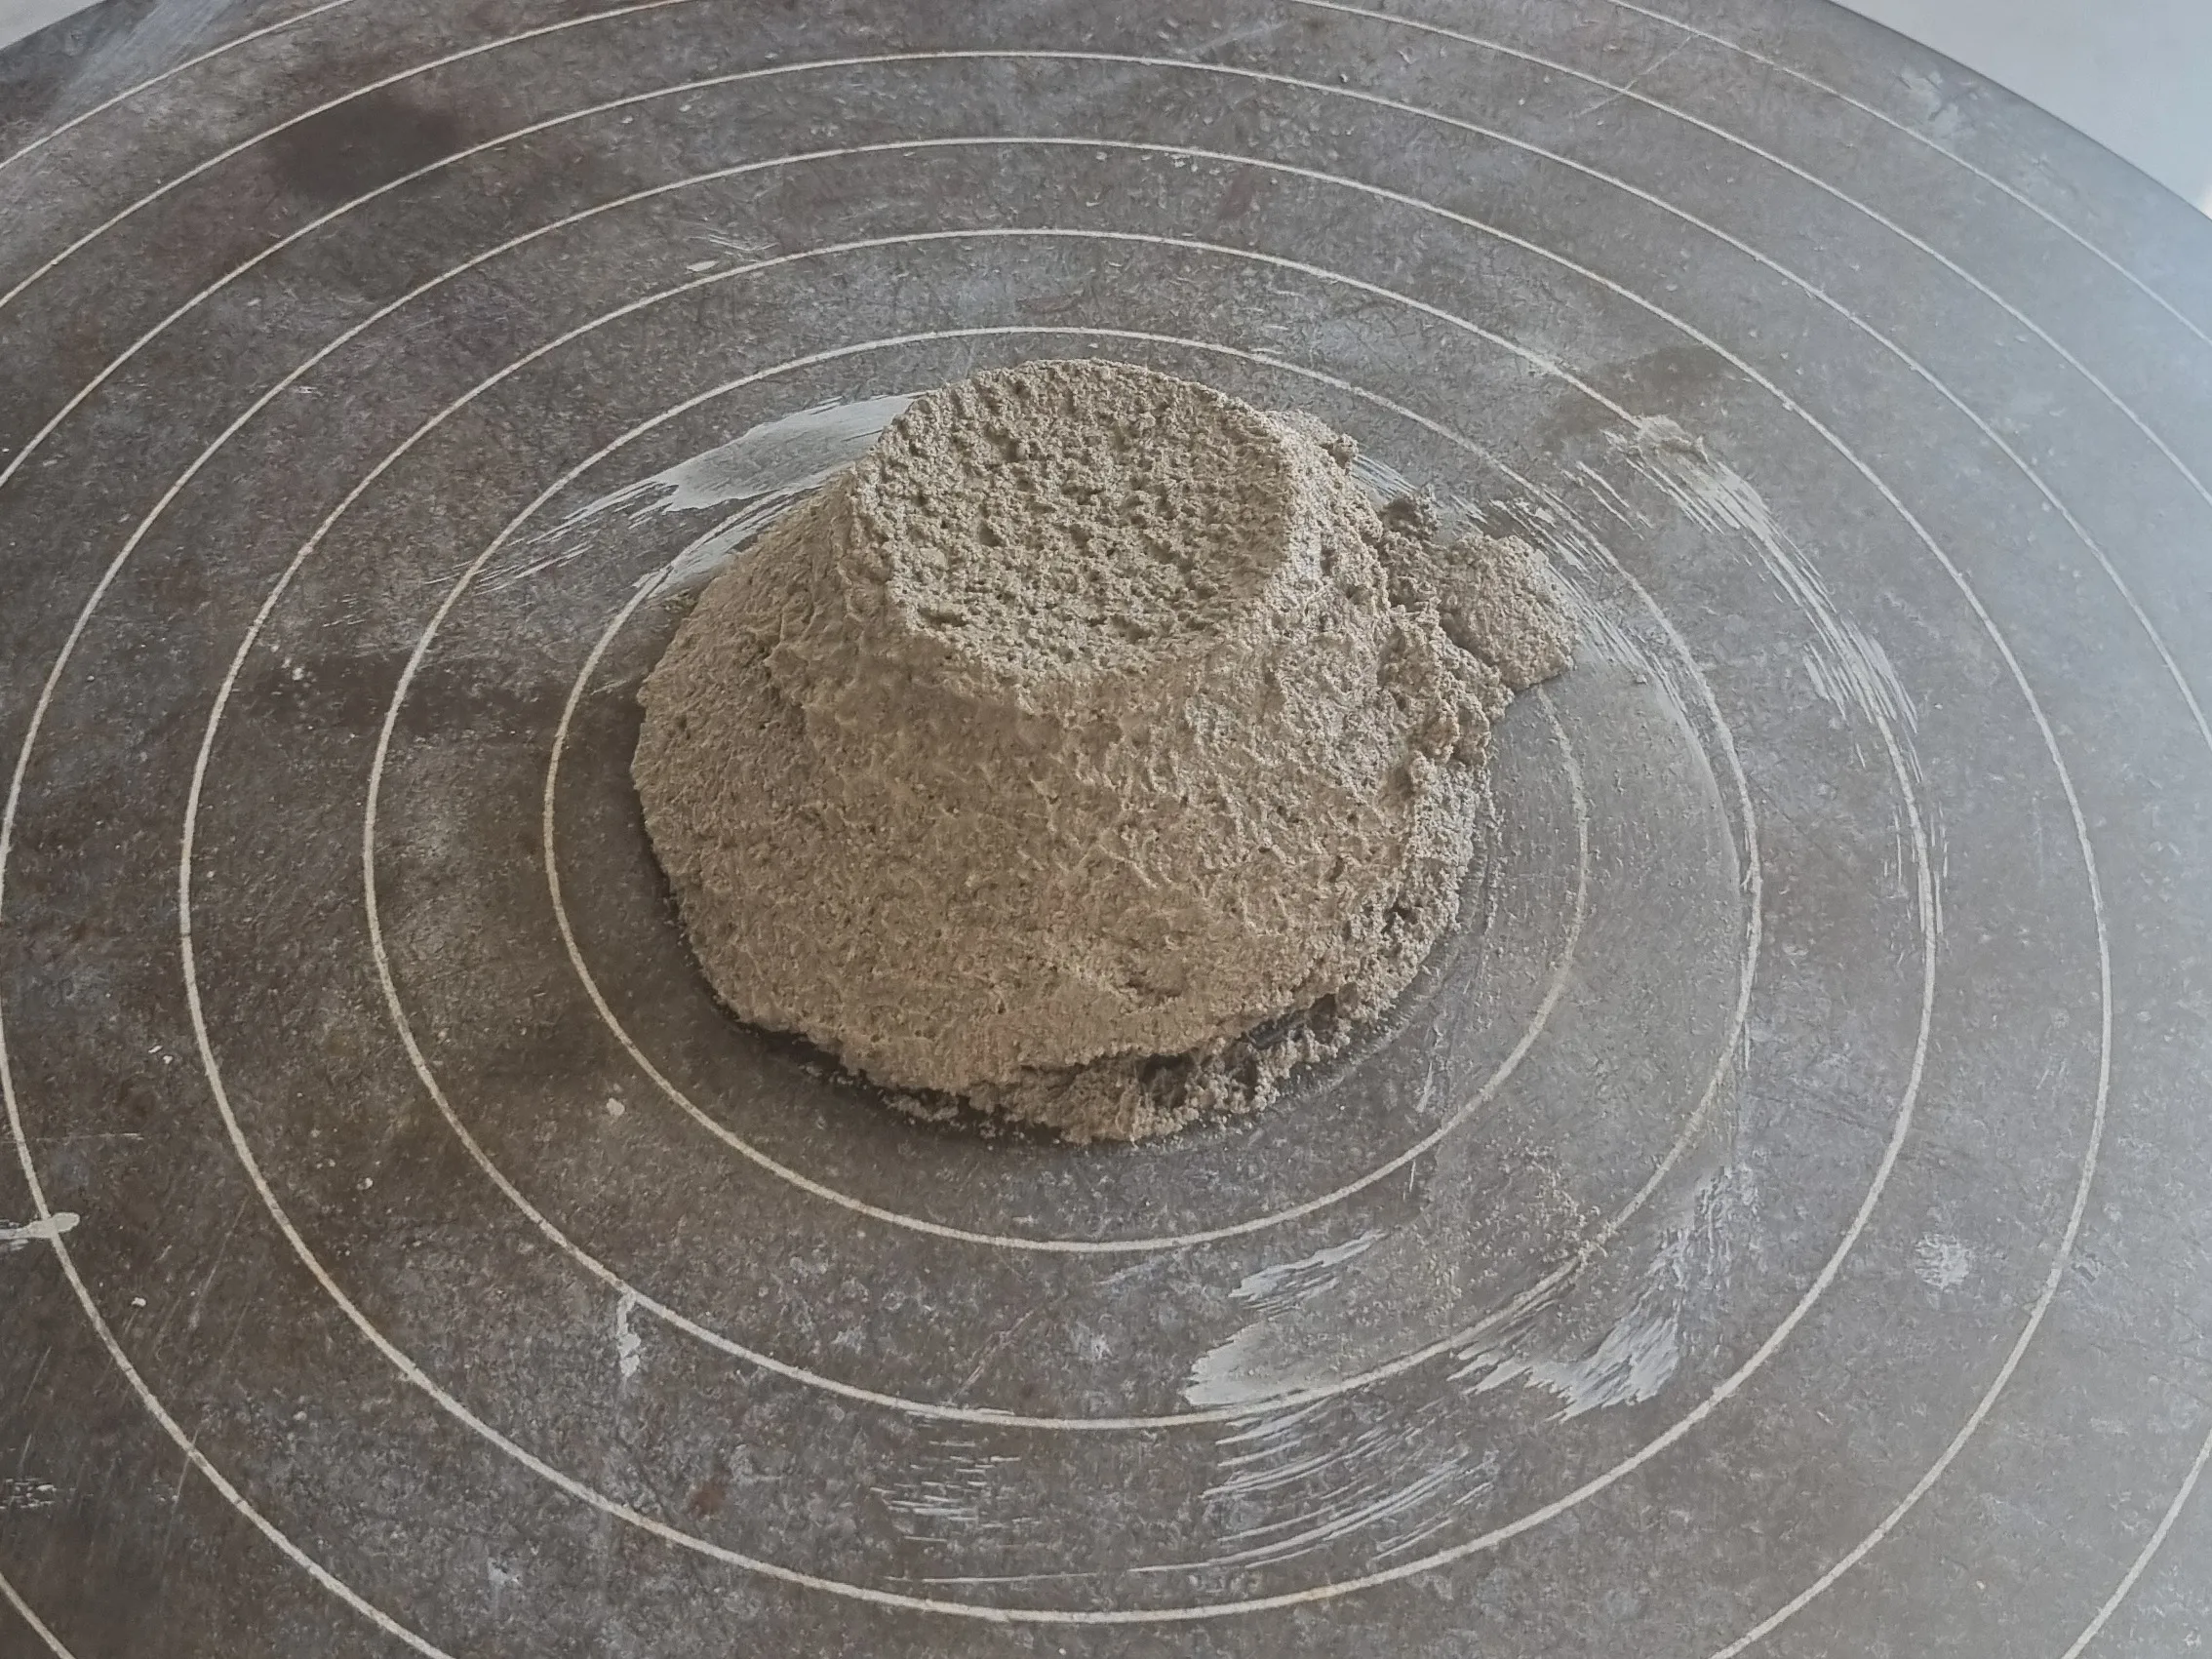
- Step 1: clean and dry the table and conical mold.
- Step 2: position the mold in the center of the table and fill it with mortar in three layers of approximately equal heights.
- Step 3: apply blows with the tamper on each layer, respectively:
- 15 blows on the first layer;
- 10 blows on the second layer;
- 5 blows on the third layer.
- Step 4: level the surface of the mortar and clean the sides of the mold.
- Step 5: remove the mold vertically.
- Step 6: activate the table to execute 30 drops in 30 seconds.
- Step 7: immediately measure the spread of the mortar in three evenly distributed diameters.
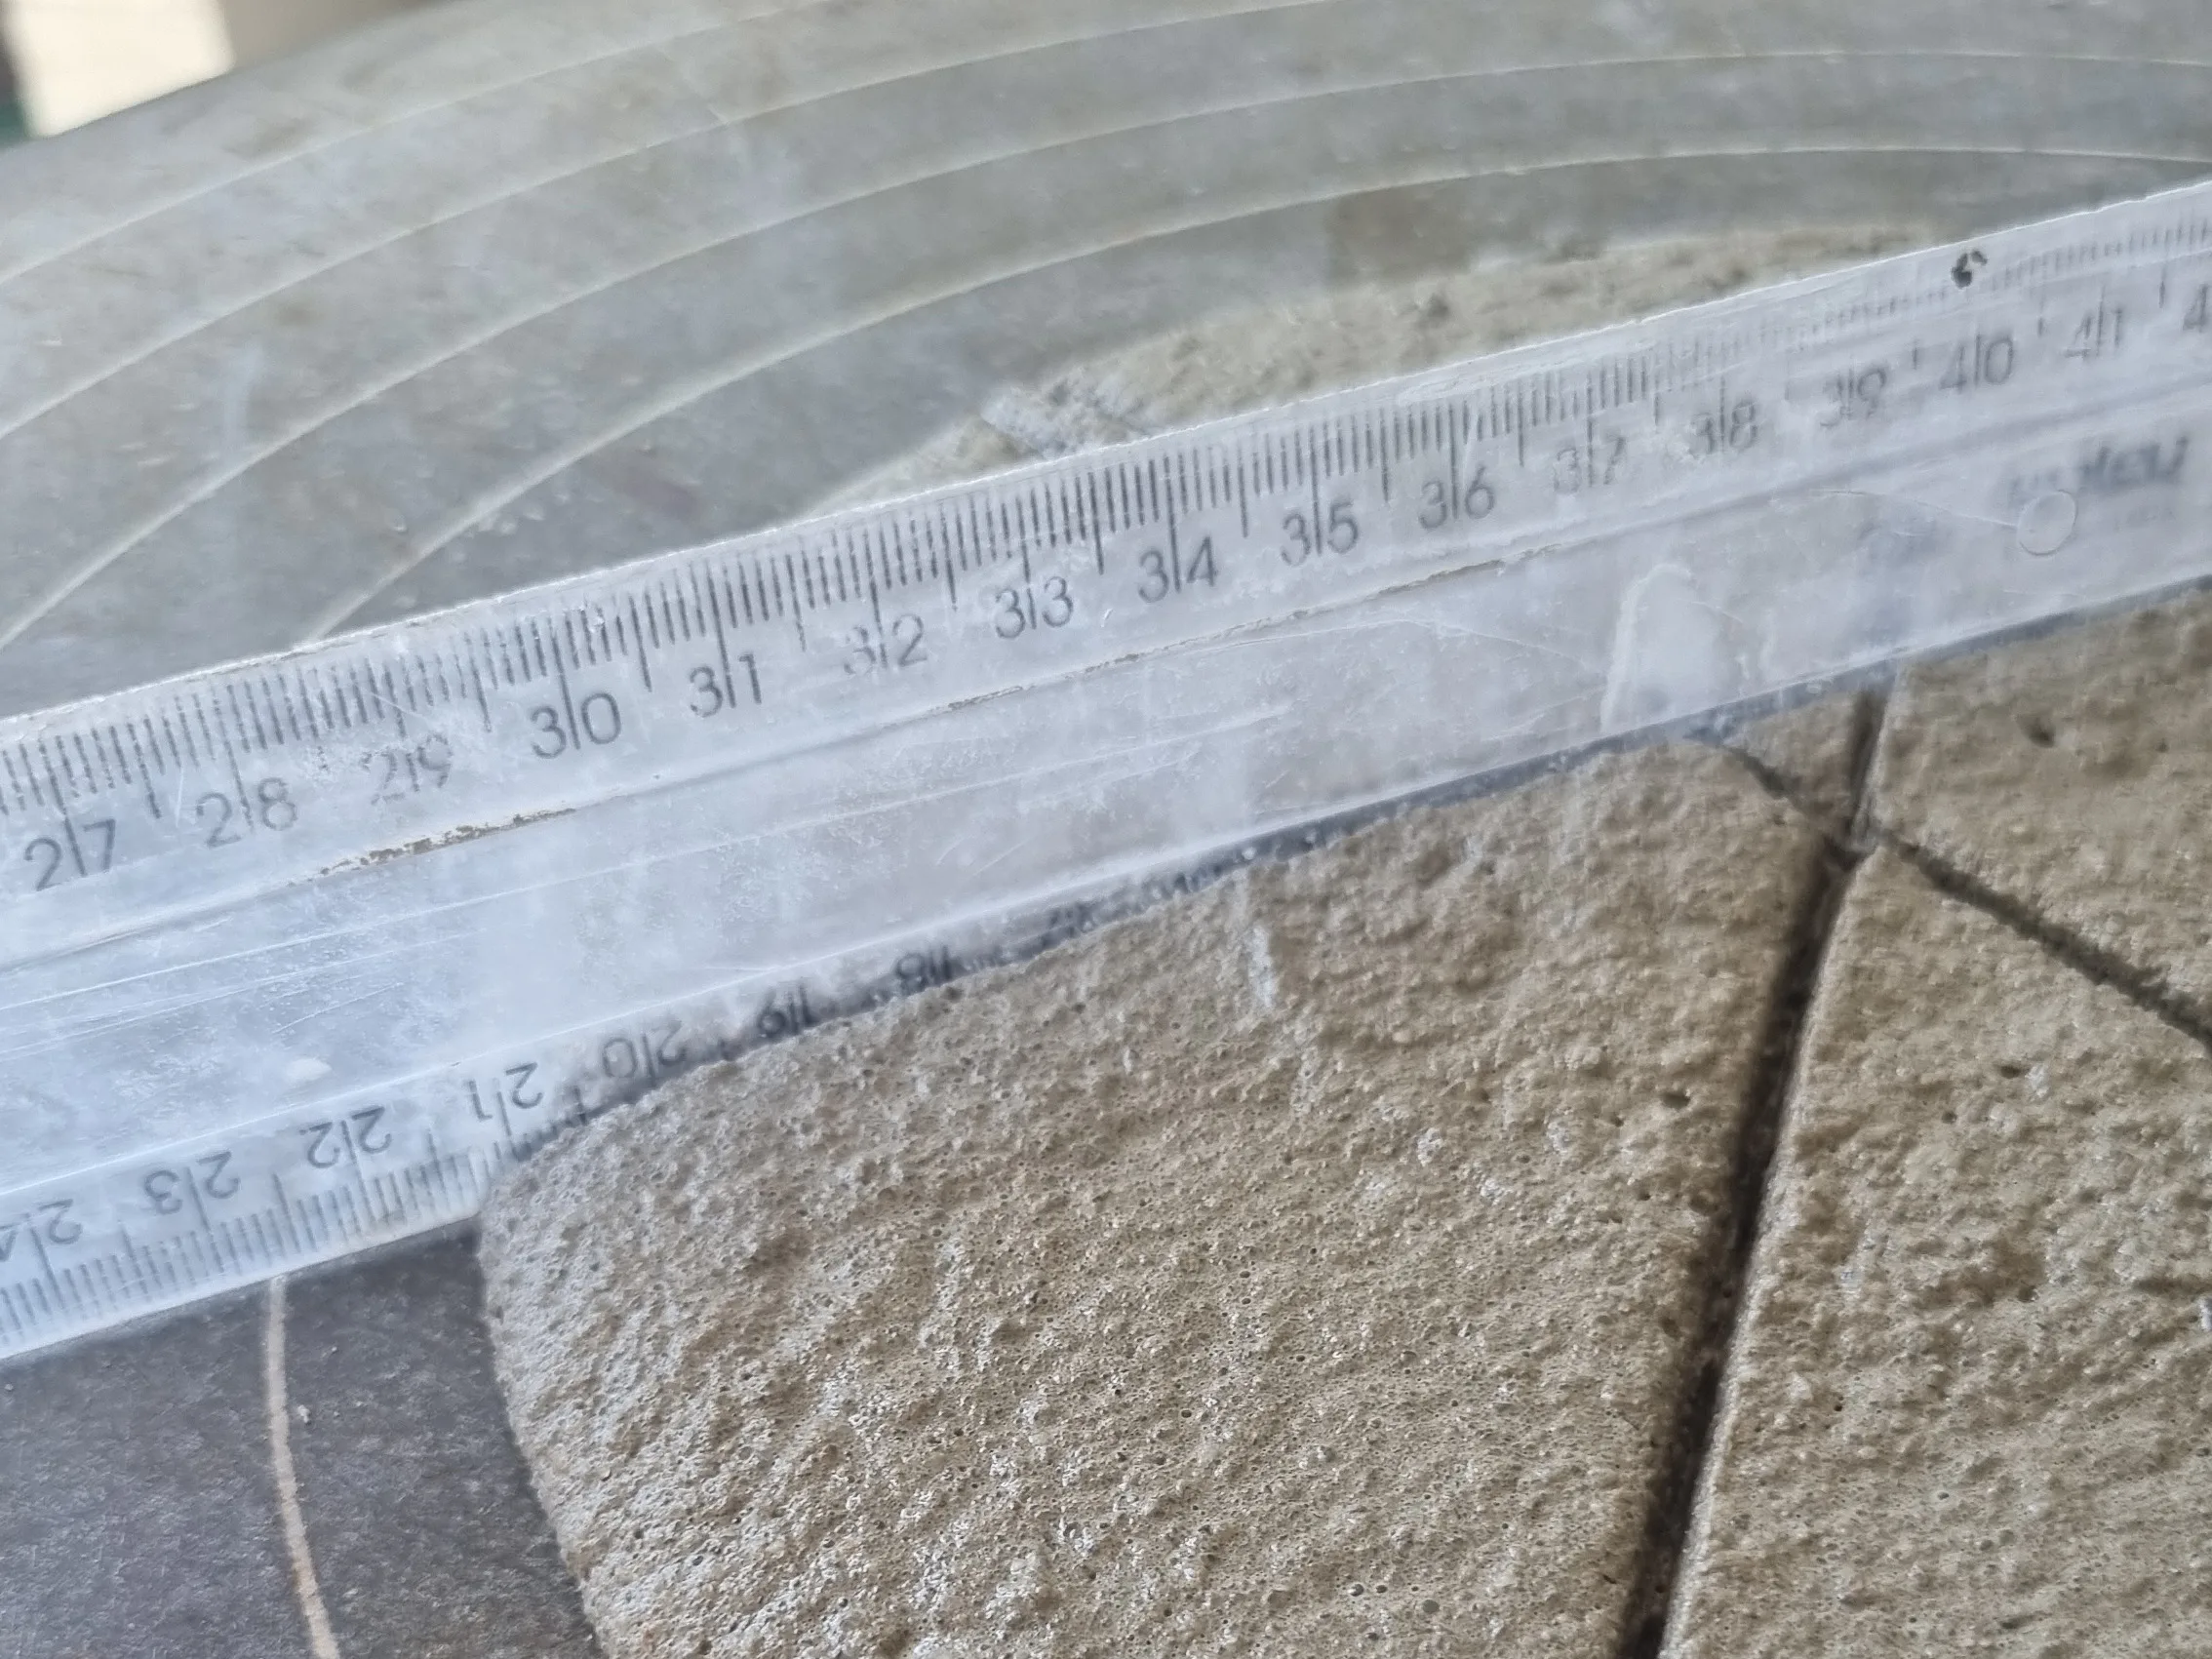
- Step 8: calculate the average of the three measurements. The result corresponds to the consistency index, in millimeters.
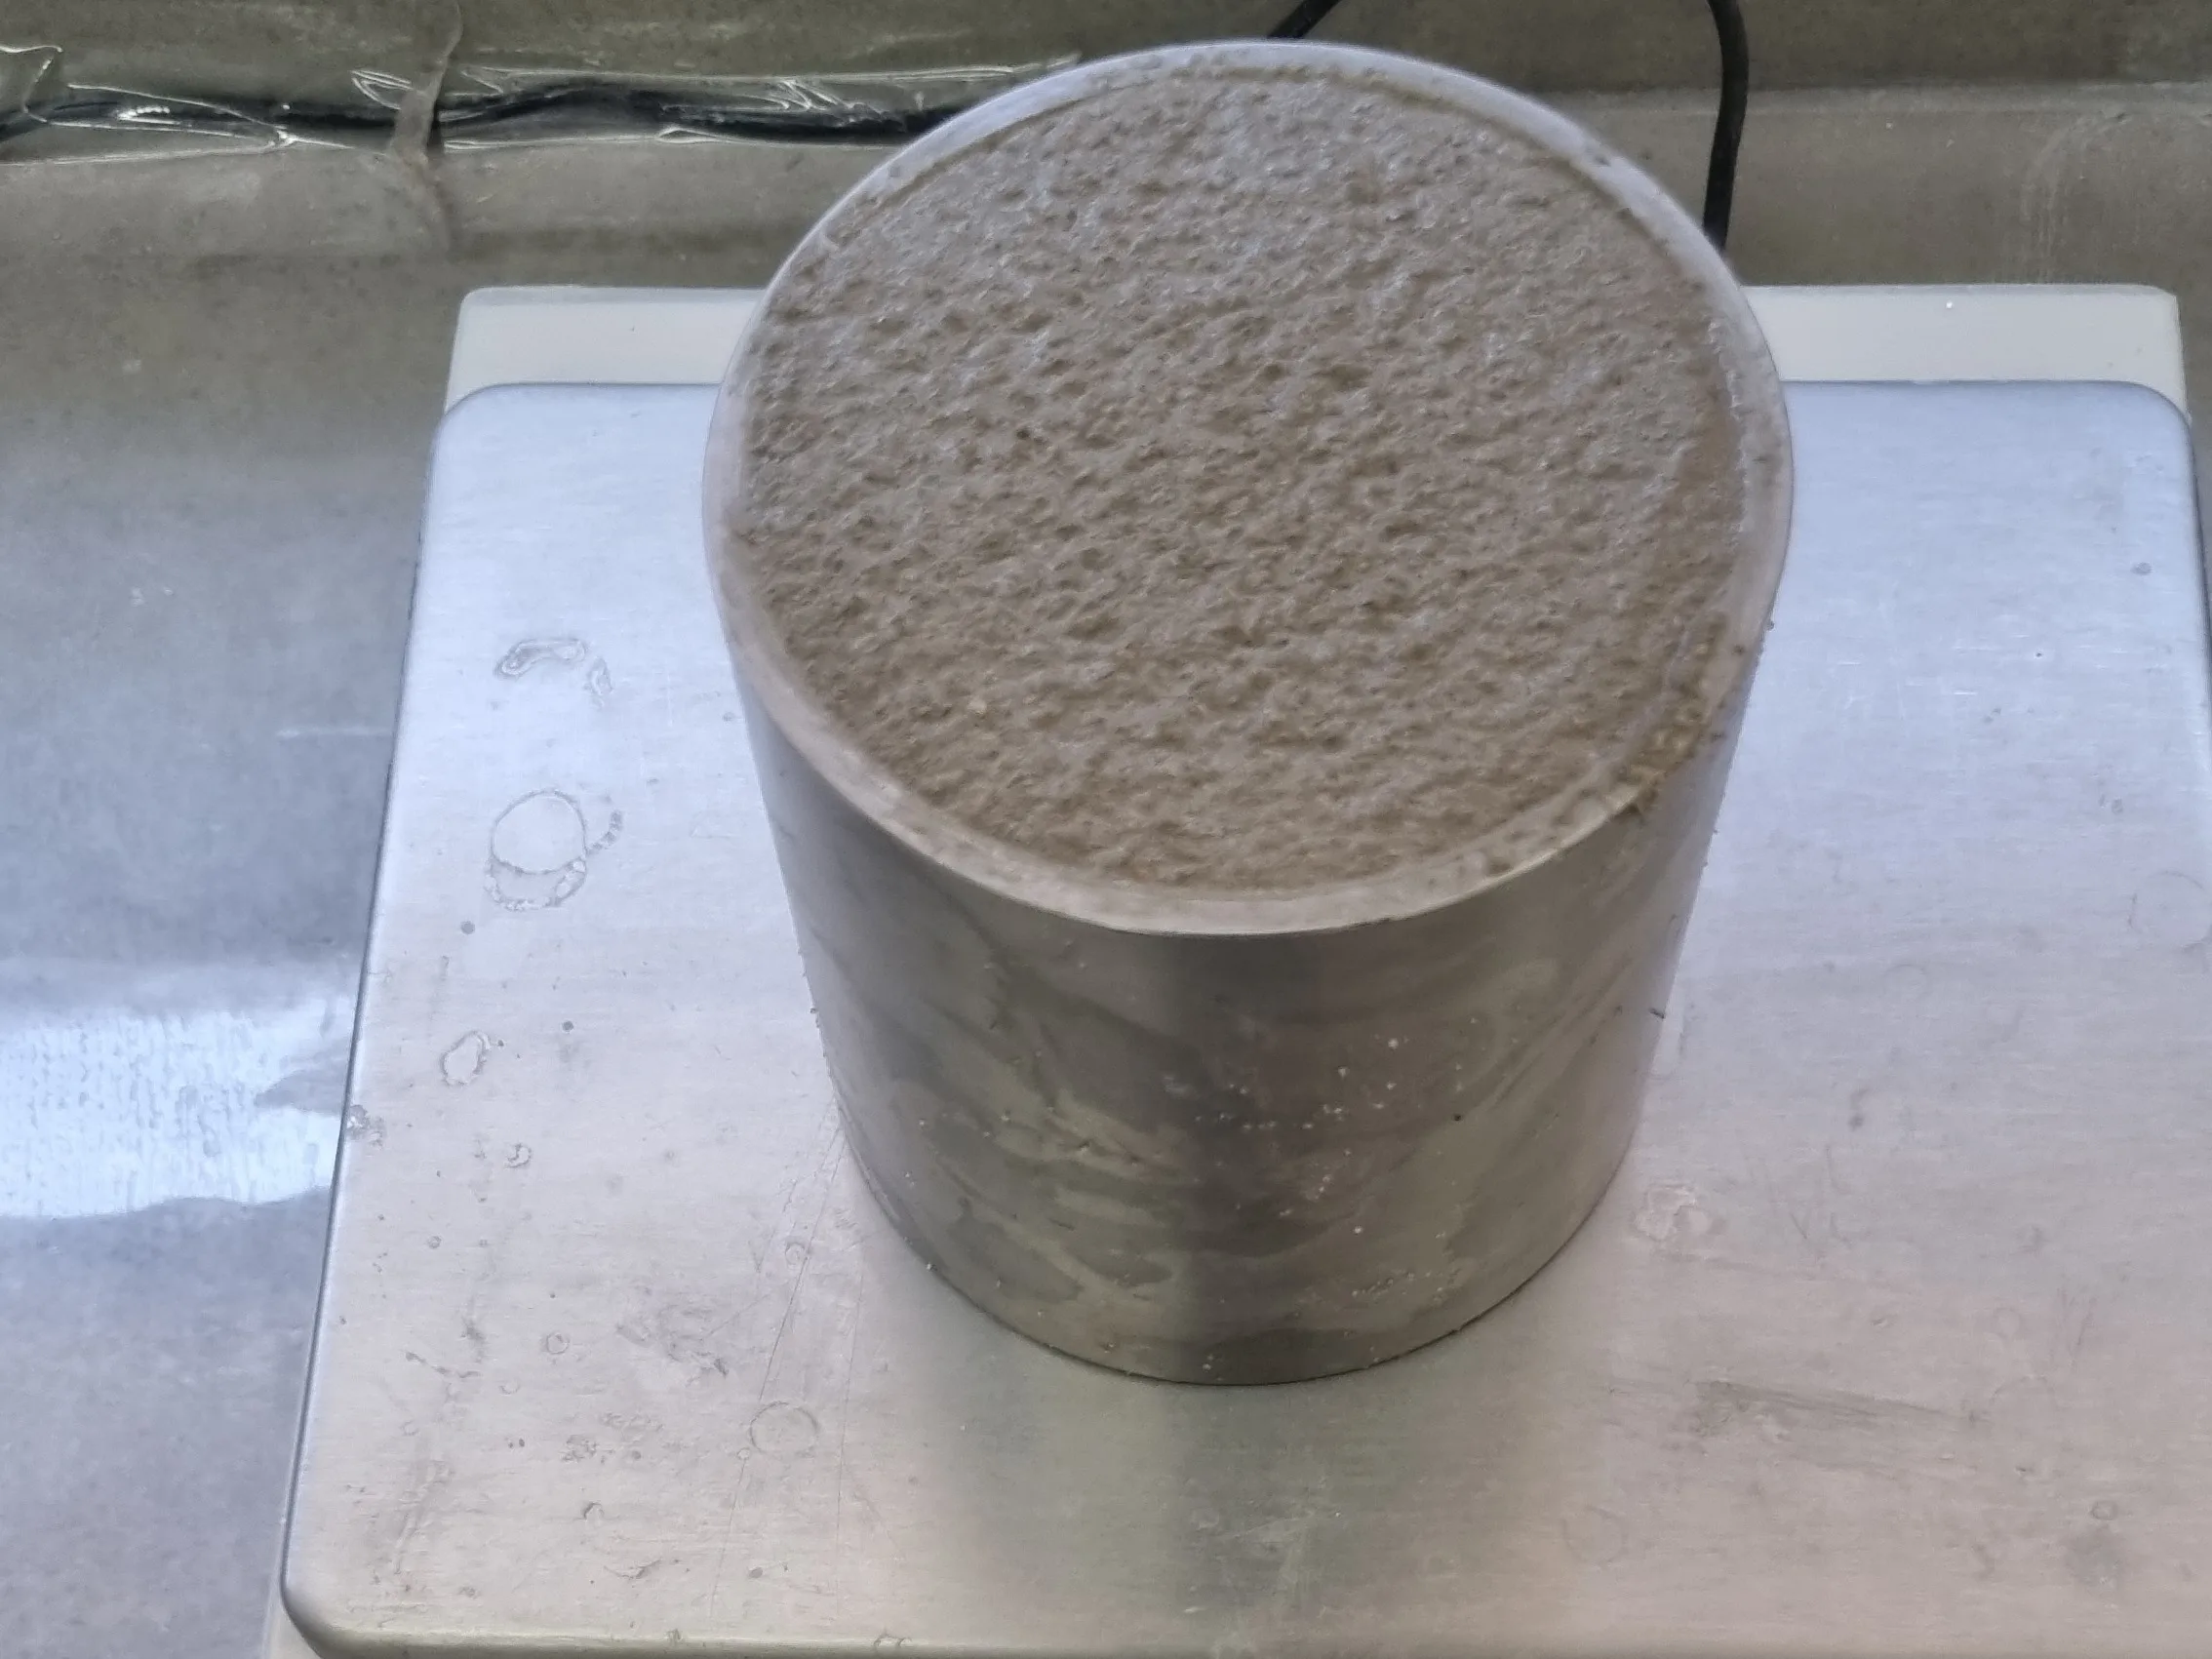
Determination of Mass Density and Incorporated Air Content — NBR 13278
This test allows determining the density of fresh mortar and estimating the amount of incorporated air.
Required Equipment
- Rigid cylindrical container with an approximate volume of 400 cm³, height 85 mm, and diameter 80 mm;
- Scale with a resolution of 0.1 g;
- Metal spatula;
Procedure
- Step 1: determine the mass and volume of the container (use demineralized water for volume calculation - the standard details the volume calculation procedure).
- Step 2: fill the container with mortar in three successive equal layers.
- Step 3: apply 20 blows on the perimeter of the mortar in each layer.
- Step 4: execute three drops on the consistency table at the end of each layer;
- Step 5: level the surface of the mortar by removing any particles or water adhered to the outer surface of the container.
- Step 6: determine the mass of the container + mortar assembly.
- Step 7: calculate the mass density from the known volume of the container using the equation:
$$
d = \frac{m_c - m_v}{v_r}1000
$$
Where
$m_c$ is the mass of the cylindrical container containing the test mortar, in grams;
$m_v$ is the mass of the empty cylindrical container, in grams;
v_r is the volume of the cylindrical container, in cubic centimeters.
The amount of incorporated air is obtained through the equation:
$$
A = 100 \left( 1 - \frac{d}{d_t} \right)
$$
Where
d is the value of the mass density of the mortar, in grams per cubic centimeter
d_t is the theoretical mass density of the mortar, in cubic centimeters, without voids.
The theoretical density is generally obtained using the equation:
$$
d_t = \frac{\sum m_i}{\sum \frac{m_i}{\gamma_i}}
$$
Where
$m_i$ is the dry mass of each component of the mortar, plus the mass of water
$�3b\gamma_i$ is the specific mass of each component of the mortar.
Determination of Water Retention — NBR 13277
The water retention test assesses the ability of the mortar to maintain its mixing water when subjected to suction. This is essential for two reasons: the rate of water loss from a mortar affects shrinkage (if the mortar loses too much water quickly, it shrinks, causing cracks) and also the availability of hydration water of the cement.
Required Equipment
- Büchner funnel with vacuum pump;
- Filter paper discs: qualitative with 200 mm diameter;
- Metal ruler;
- Scale with resolution 0.1 g;
- Stopwatch.
Procedure
- Step 1: prepare the mortar according to the standardized procedure.
- Step 2: place the dish on the funnel, ensuring airtightness between them, and moisten the filter paper, positioning it over the bottom of the dish.
- Step 3: with the faucet closed, activate the vacuum pump in such a way as to apply a suction of 51 mm of mercury to the assembly. Open the faucet and remove excess water from the filter paper for 90 seconds, then close it.
- Step 4: weigh the wet filter paper assembly on the scale.
- Step 5: fill the dish with mortar just above the edge. Compact it with 37 blows of the tamper, with 16 blows applied uniformly along the edge and 21 blows applied at evenly distributed points in the center of the sample, ensuring uniform filling of the dish.
- Step 6: remove the excess mortar from the dish using a metal ruler to obtain a flat surface.
- Step 7: clean the edges of the assembly.
- Step 8: weigh the assembly with leveled mortar on the scale.
- Step 9: open the faucet to apply suction on the sample corresponding to the column of 51 mm of mercury for 15 minutes, then close it.
- Step 10: remove the dish from the funnel and weigh the assembly on the scale.
Calculate the water retention ($R_a$) using the following equation:
$$
R_a = \left[ \frac{(m_a - m_s)}{AF(m_a-m_s)} \right] 100
$$
Where
$$
AF = \frac{m_w}{m + m_v}
$$
where:
$m_a$ is the mass of the assembly with mortar, in grams
$m_s$ is the mass of the assembly after suction, in grams
$m_v$ is the mass of the empty assembly, in grams
$AF$ is the water/mortar fresh factor
$m_w$ is the total mass of water added to the mixture, in grams
$m$ is the mass of industrialized mortar or the sum of the masses of the anhydrous components, in the case of site mortar, in grams.
The result is expressed as a percentage.
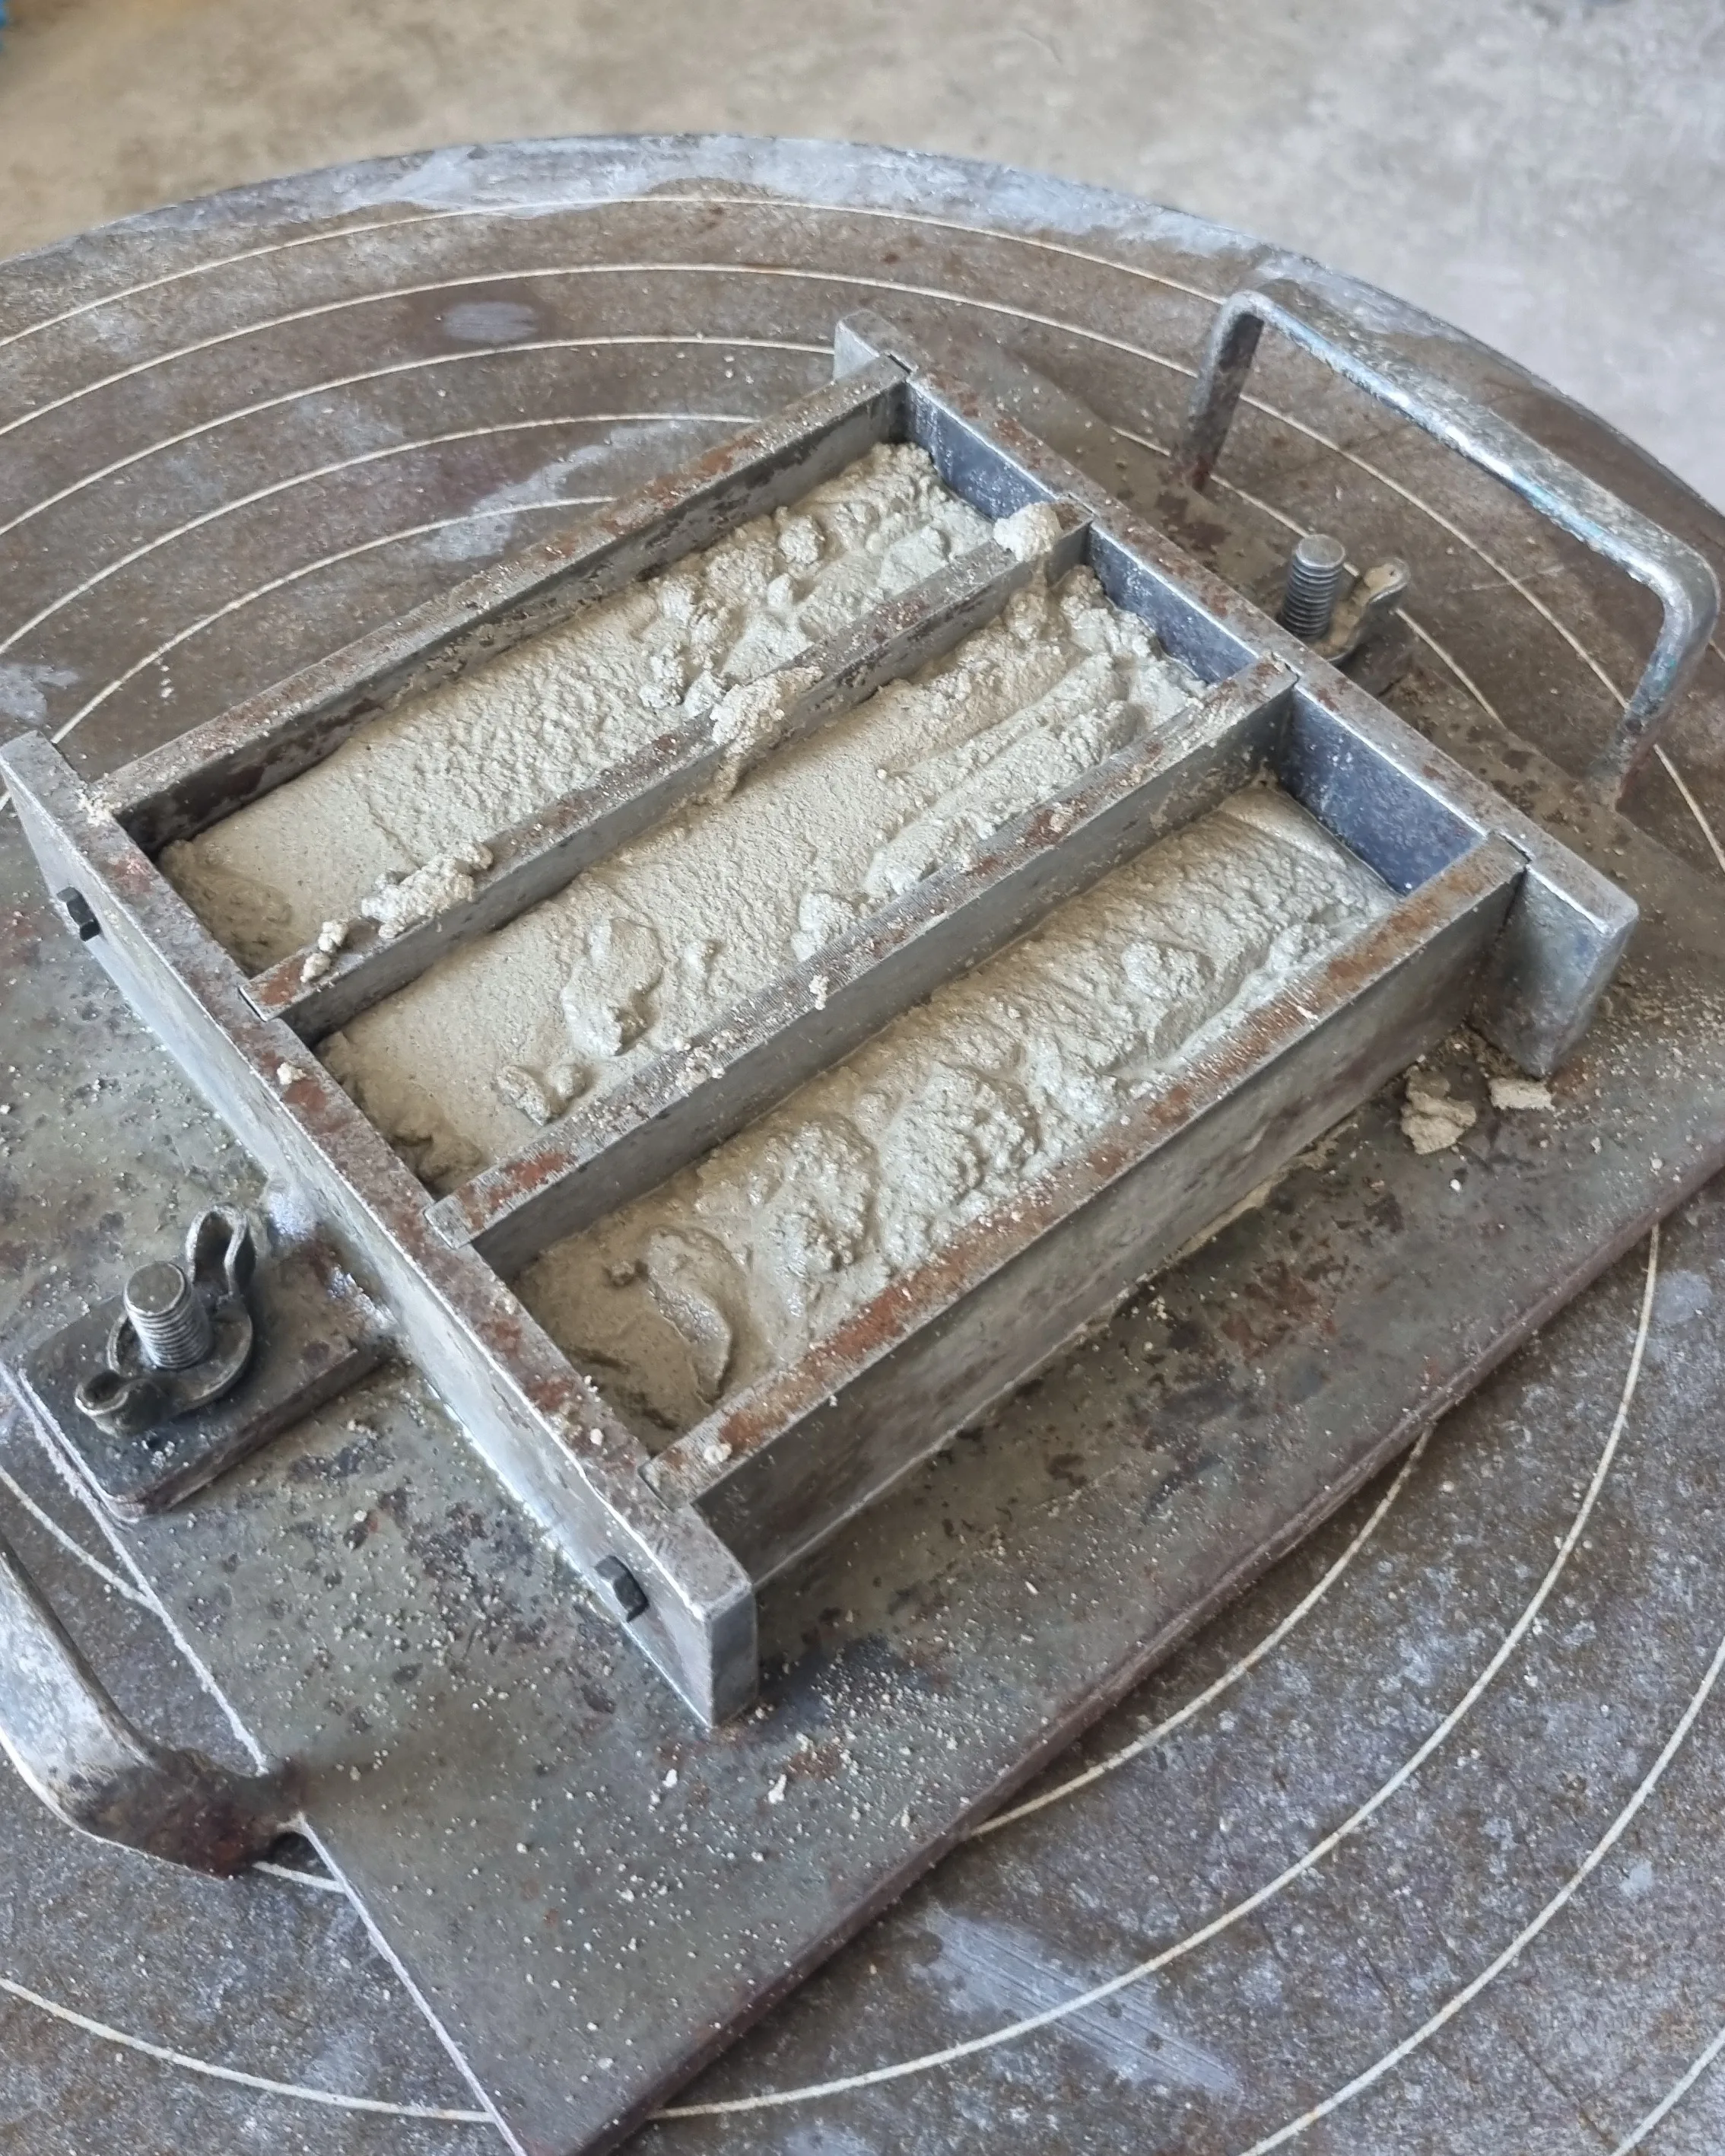
Determination of Flexural and Compression Strength — NBR 13279
Entering the tests in the hardened state, this test allows the determination of the mechanical strengths of the mortar. The objective is to know the tensile and compression strengths. As mortar is a brittle material, the tensile test is performed indirectly, through flexural testing.
Required Equipment
- Metal prism molds that allow molding test specimens of 4 cm x 4 cm x 16 cm;
- Drop densification table;
- Layer leveling device;
- Metal ruler;
- Machine for tensile strength and compression testing.
Procedure
- Step 1: mold the prism specimens according to the following steps.
- Step 2: place the molds on the densification table.
- Step 3: apply a thin layer of demolding agent to the inner faces of the molds.
- Step 4: prepare the mortar.
- Step 5: after preparation, introduce the mortar directly into each compartment of the mold. With the help of the leveling device, spread the mortar uniformly in each compartment, forming a uniform layer. Next, apply 30 drops using the densification table. Introduce the second layer of mortar into each compartment of the mold with the aid of the smaller side of the leveling device, proceed to uniformly spread the mortar, and apply the 30 drops again.
- Step 6: level the specimens with a metal ruler.
- Step 7: the specimens should remain (48 ± 24)h in the molds. Then they should be demolded and kept in curing condition until rupture.
Rupture Procedure
Ruptures should be carried out on the test specimens at 28 days of age.
Flexural Tensile Strength
- Step 1: position the specimen on the support devices of the testing equipment so that the leveled face does not come into contact with the support devices or the loading device.
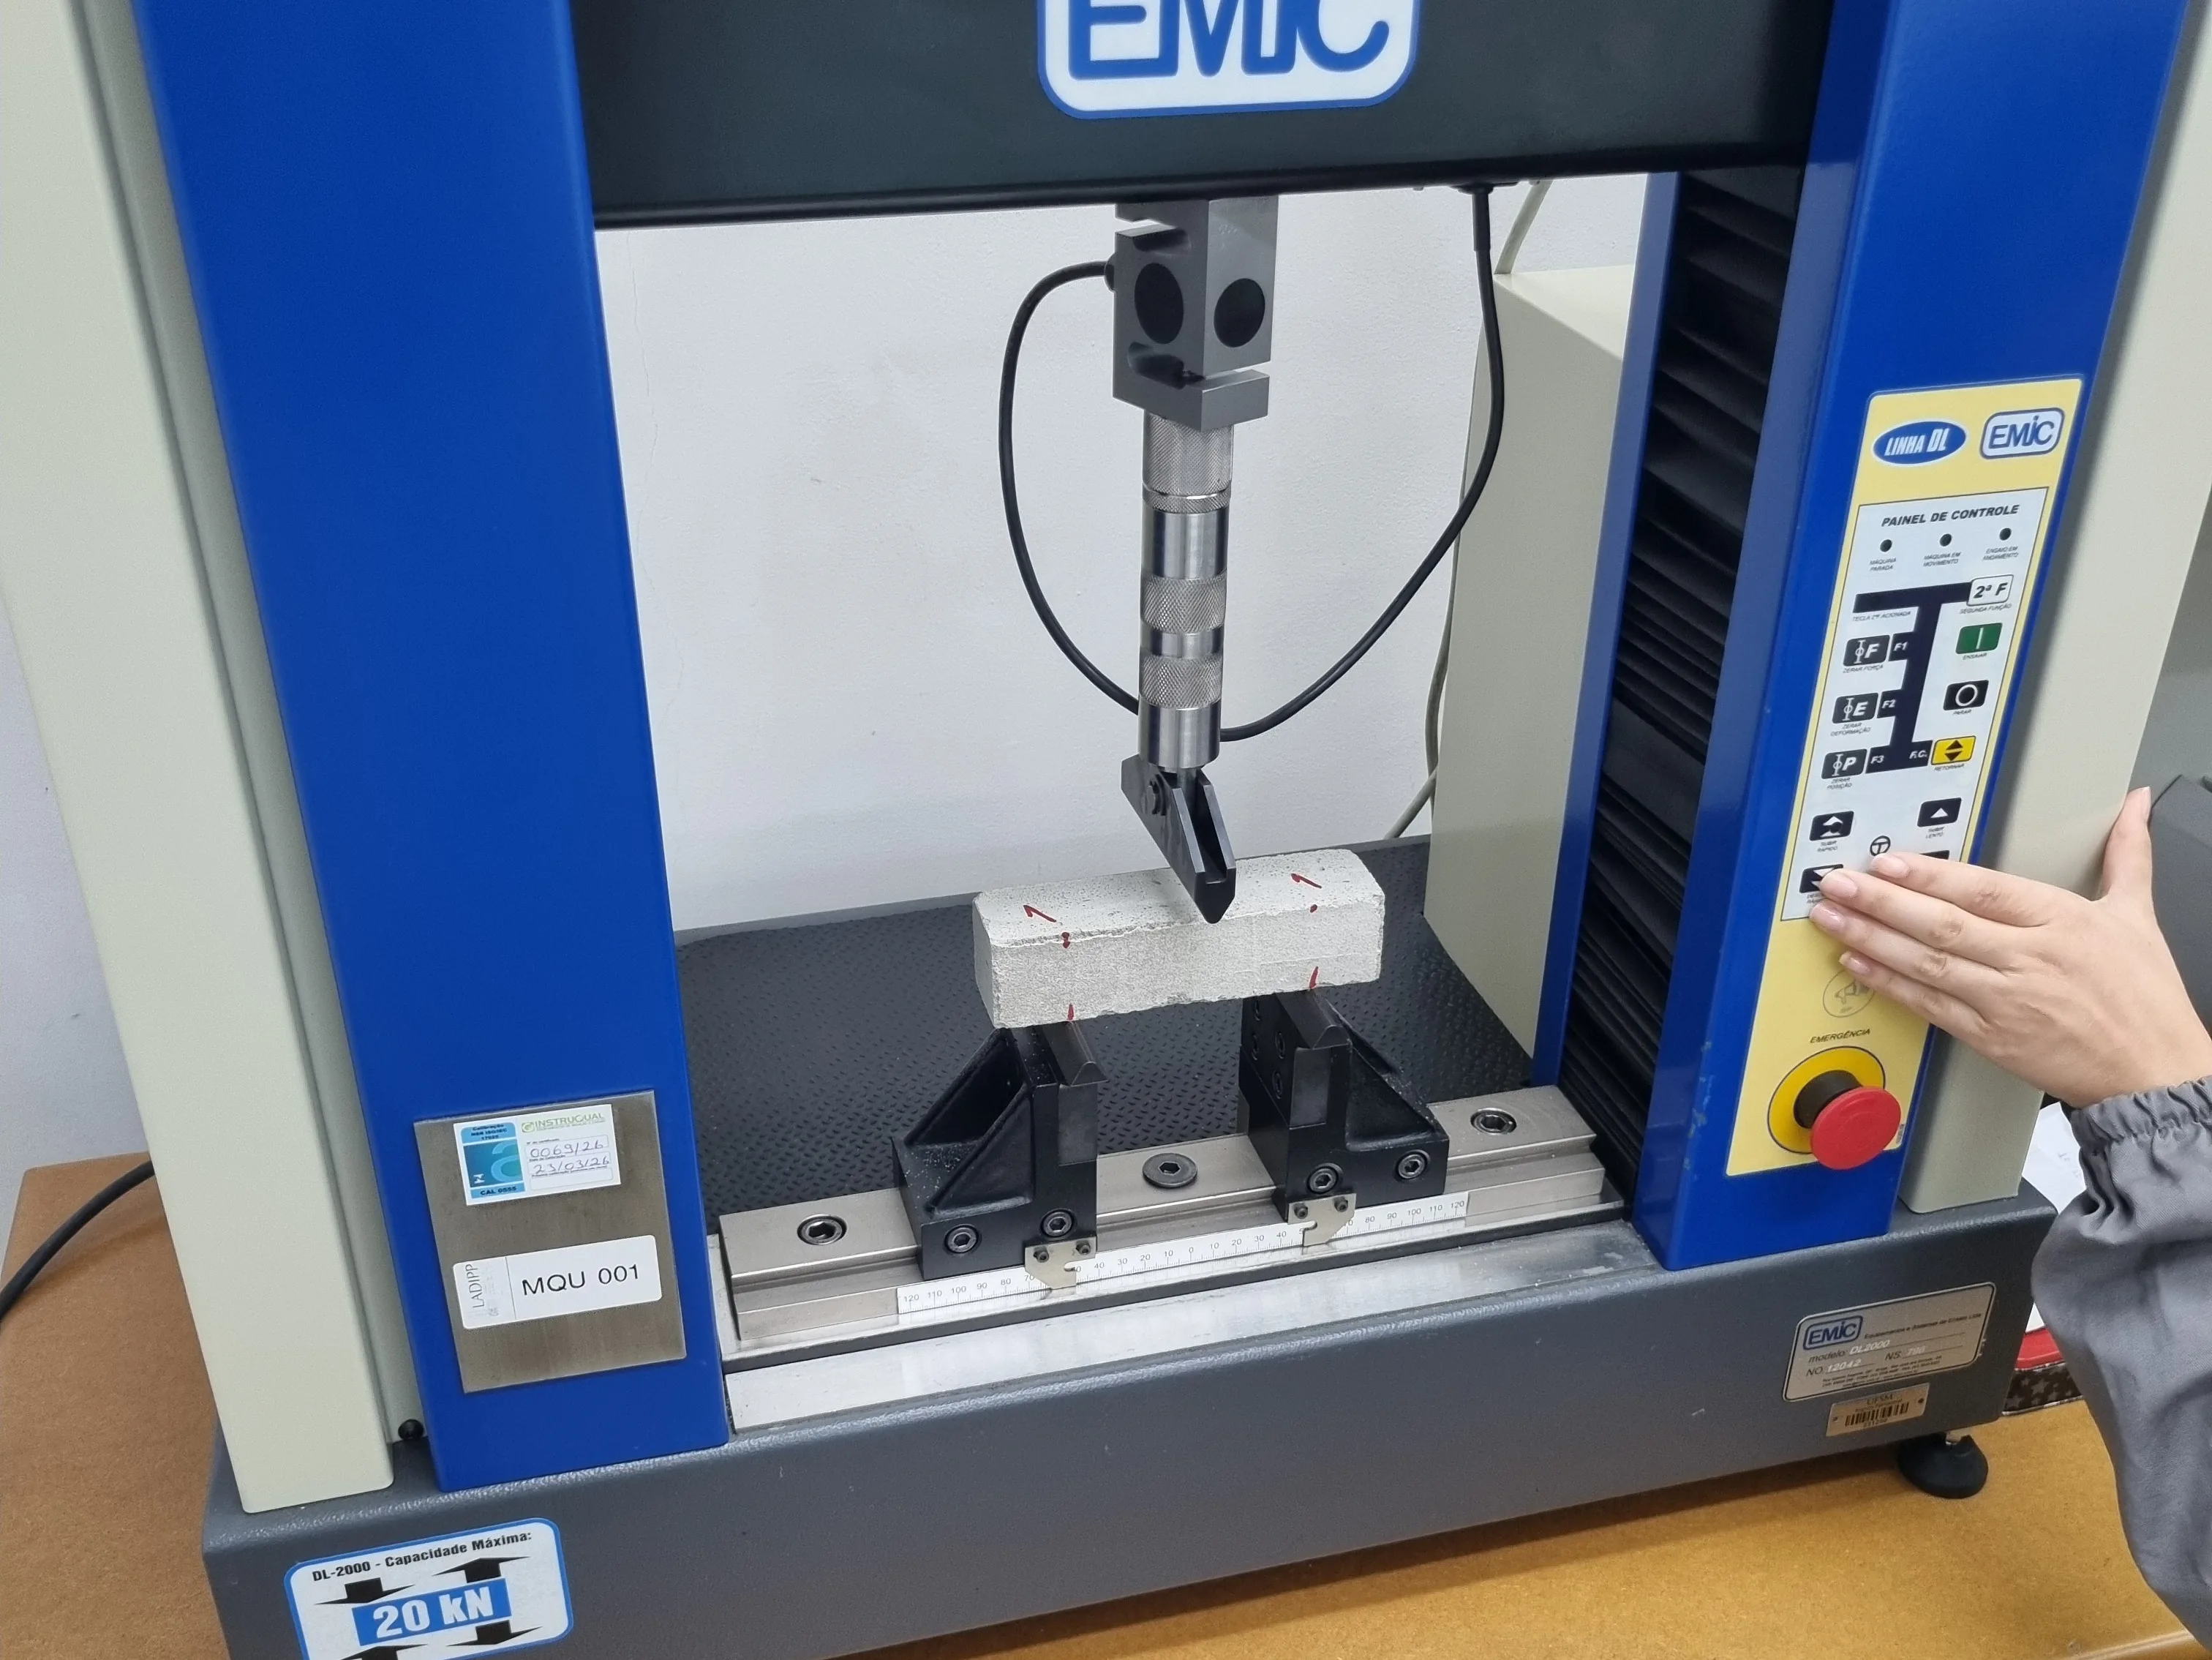
- Step 2: apply a load of (50 ± 10) N/s until the specimen ruptures.
- Step 3: the flexural tensile strength is calculated according to the equation:
$$
R_f = \frac{1.5 F_t L}{40^3}
$$
where:
$R_f$ is the flexural tensile strength, in megapascals.
$F_t$ is the load applied vertically at the center of the prism, in Newtons
$L$ is the distance between the supports, in millimeters
Axial Compression Strength
- Step 1: use the halves of the three specimens from the flexural test, positioning them on the support device of the testing equipment, so that the leveled face does not come into contact with the support device or the loading device.
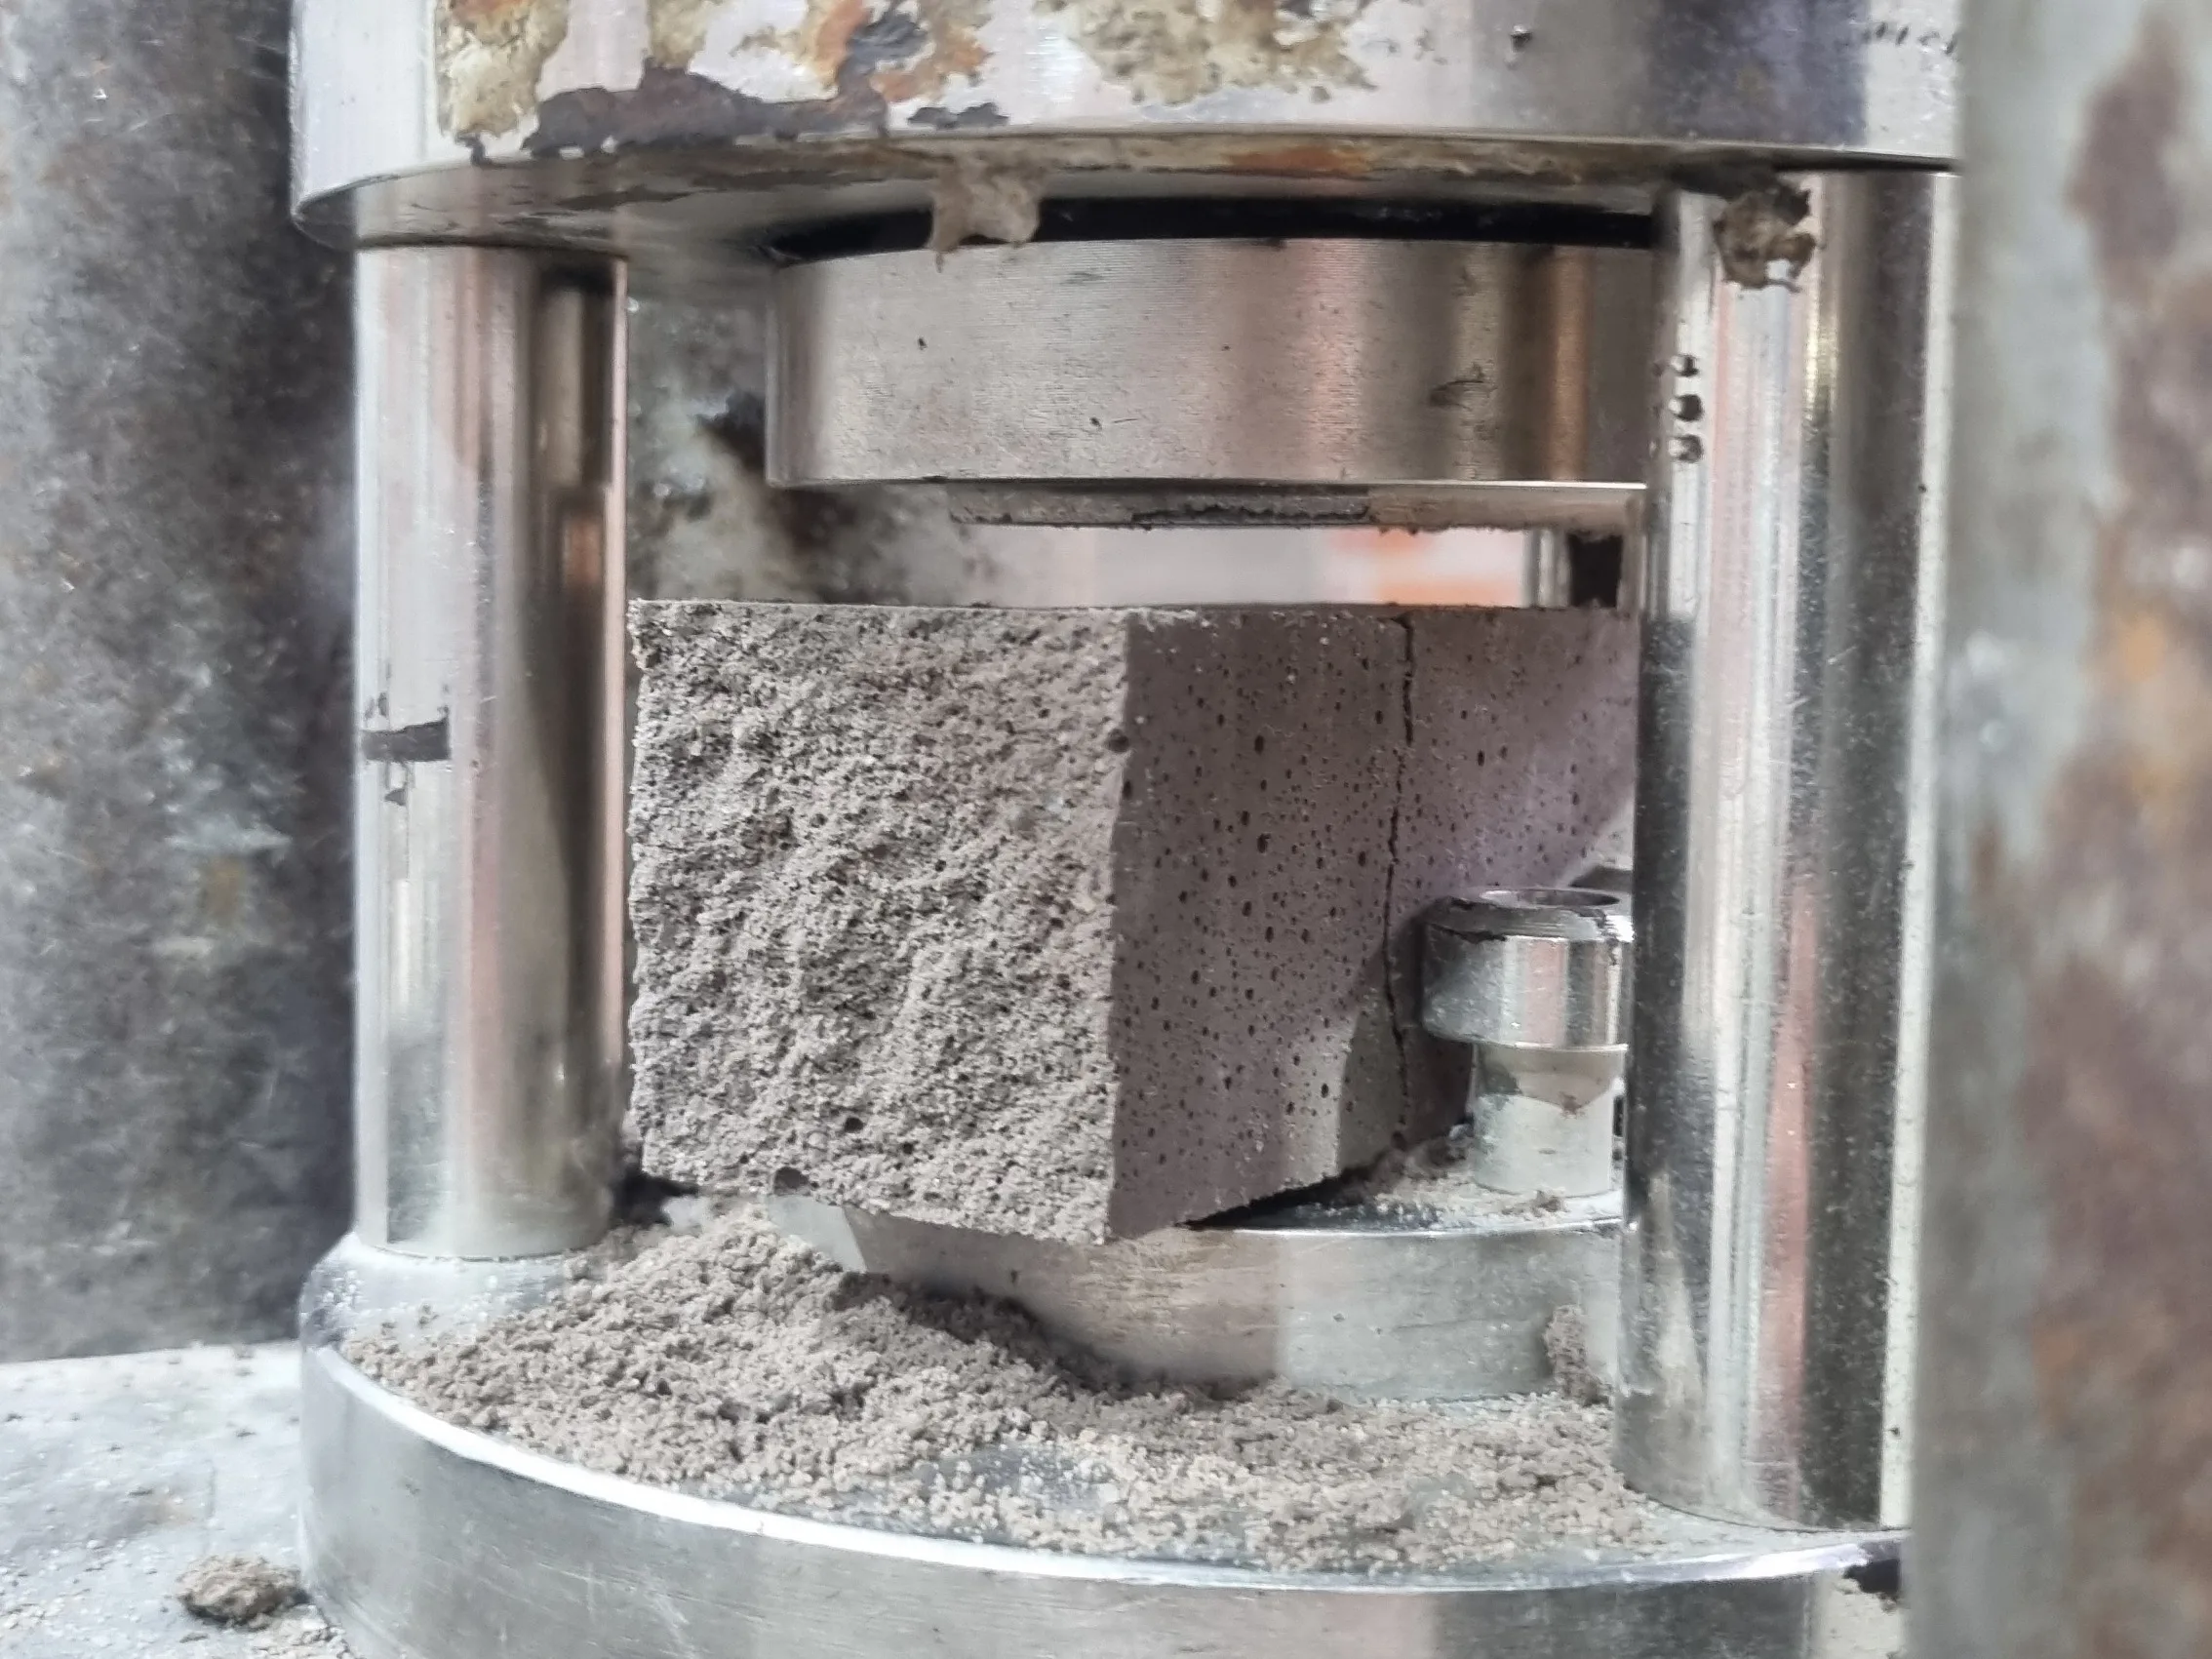
- Step 2: apply a load of (500 ± 50) N/s until the specimen ruptures.
The compressive strength is calculated according to the equation:
$$
R_c = \frac{F_c}{1600}
$$
where:
$R_c$ is the compressive strength, in megapascals
$F_c$ is the maximum load applied, in Newtons
1600 is the square area considered of the loading device 40 mm x 40 mm in square millimeters.
Determination of Water Absorption by Capillarity — NBR 15259
This test assesses the ability of hardened mortar to absorb water by capillary suction.
Required Equipment
- Prism specimens;
- Container with controlled water level;
- Scale.
Procedure
- Step 1: dry the specimens until they reach constant mass.
- Step 2: position the specimens partially immersed in water.
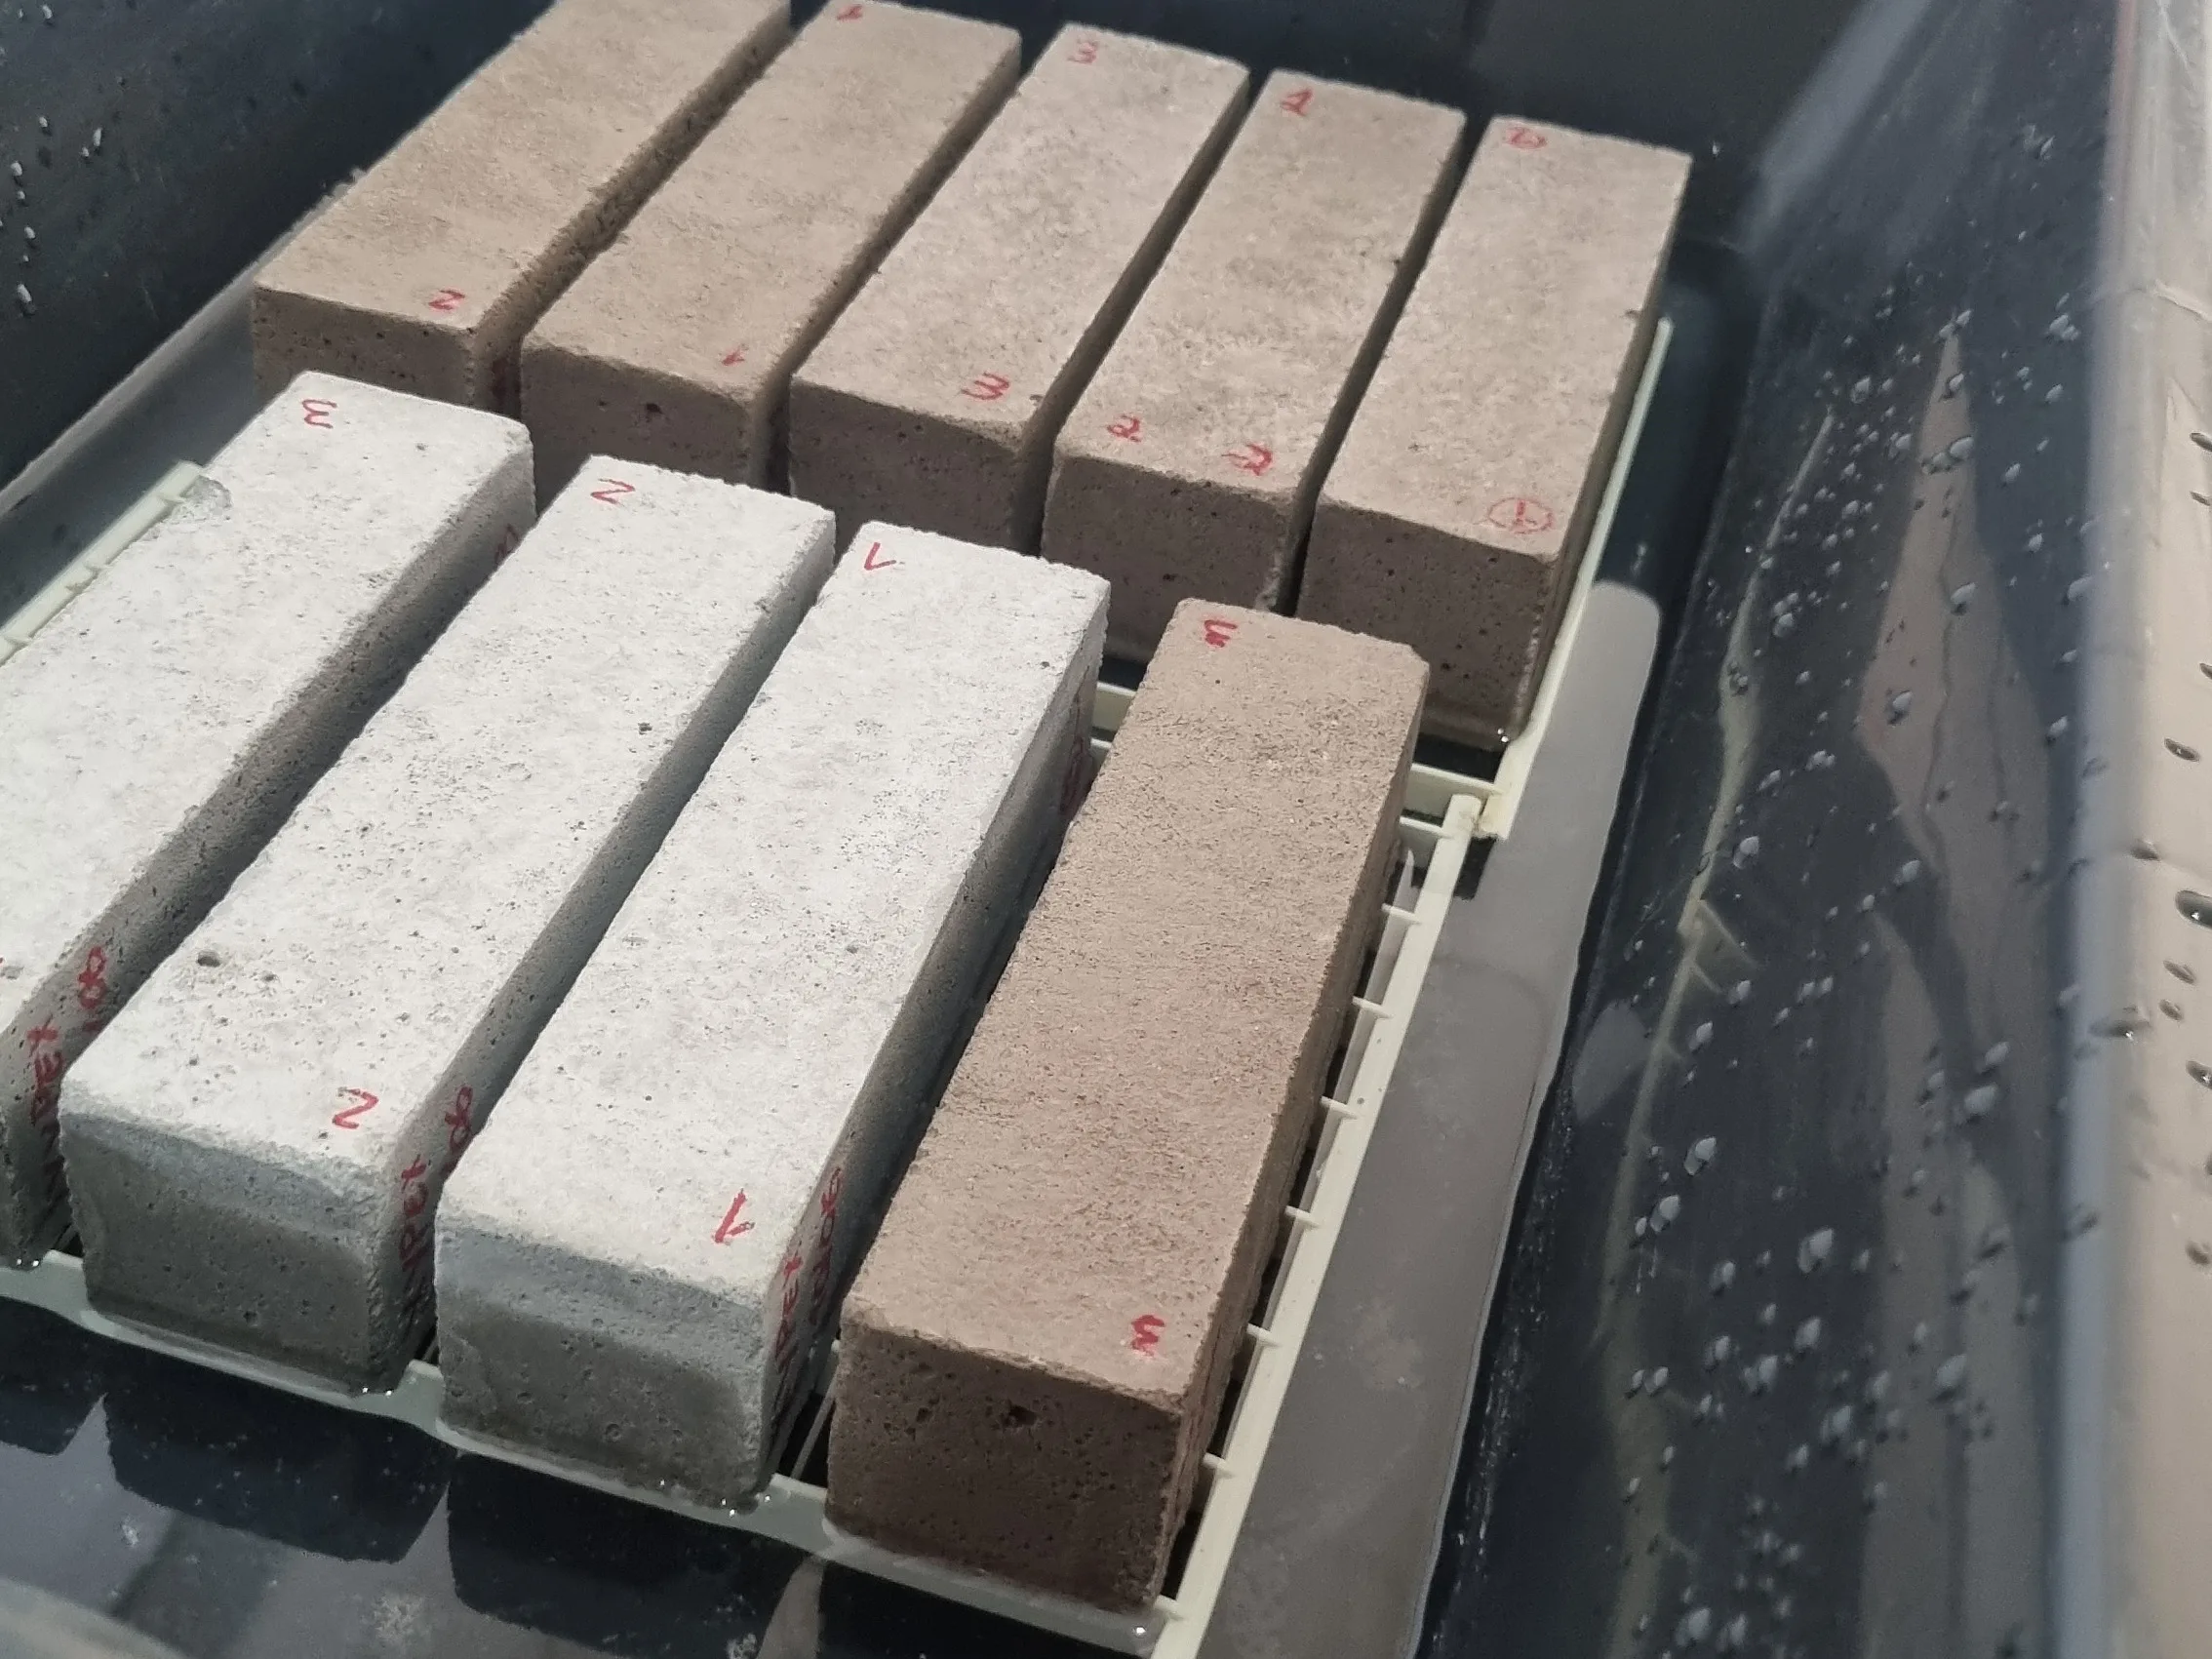
- Step 3: record the masses at defined time intervals.
- Step 4: calculate the water absorption by capillarity.
Determination of Water Absorption, Void Index, and Specific Mass — NBR 9778
This test determines physical properties related to the material's porosity.
Required Equipment
- Oven;
- Hydrostatic scale;
- Water container.
Procedure
- Step 1: dry the specimens until they reach constant mass.
- Step 2: determine the dry mass.
- Step 3: saturate the specimens.
- Step 4: determine the saturated mass and the immersed mass.
- Step 5: calculate:
- water absorption;
- void index;
- specific mass.
Determination of Dimensional Variation — NBR 15261
The dimensional variation test assesses the shrinkage or expansion of the mortar over time.
Required Equipment
- Prism molds;
- Length comparator;
- Climatic chamber.
Procedure
- Step 1: mold the specimens.
- Step 2: take the initial reading after the period specified in the standard.
- Step 3: store the specimens in a controlled environment.
- Step 4: take periodic length readings.
- Step 5: calculate the dimensional variation over time.
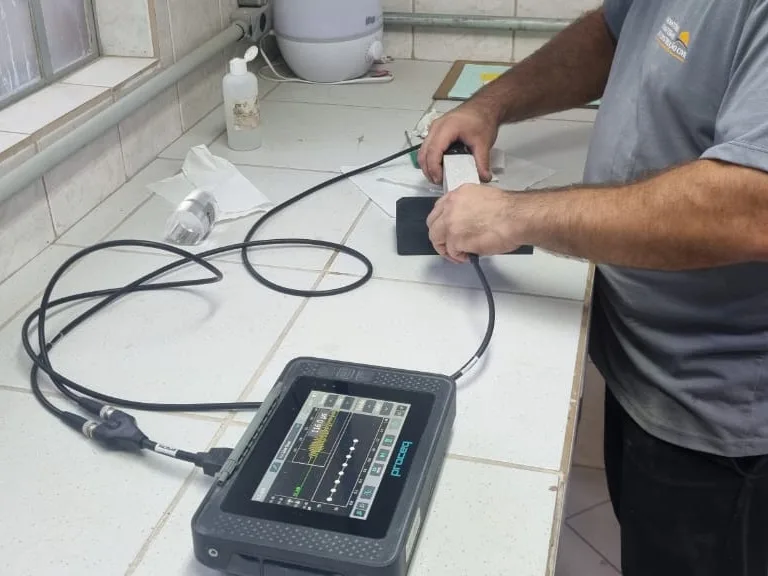
Determination of Dynamic Elastic Modulus — NBR 15630
The dynamic elastic modulus can be obtained using non-destructive methods based on wave propagation.
Required Equipment
- Ultrasonic or dynamic excitation equipment;
- Prism specimens;
- Caliper.
Procedure
- Step 1: measure the dimensions and mass of the specimens.
- Step 2: position the sensors of the equipment.
- Step 3: conduct wave propagation or natural frequency readings.
- Step 4: calculate the dynamic elastic modulus according to the adopted method.
Determination of Potential Adhesion Tensile Strength — NBR 15258
This test assesses the adhesion of the mortar applied as a coating.
Required Equipment
- Metal tiles;
- Epoxy adhesive;
- Pull-out testing equipment.
Procedure
- Step 1: apply the mortar on the specified base.
- Step 2: wait for the curing period.
- Step 3: glue the metal tiles to the surface.
- Step 4: perform the perimeter cut around the tile.
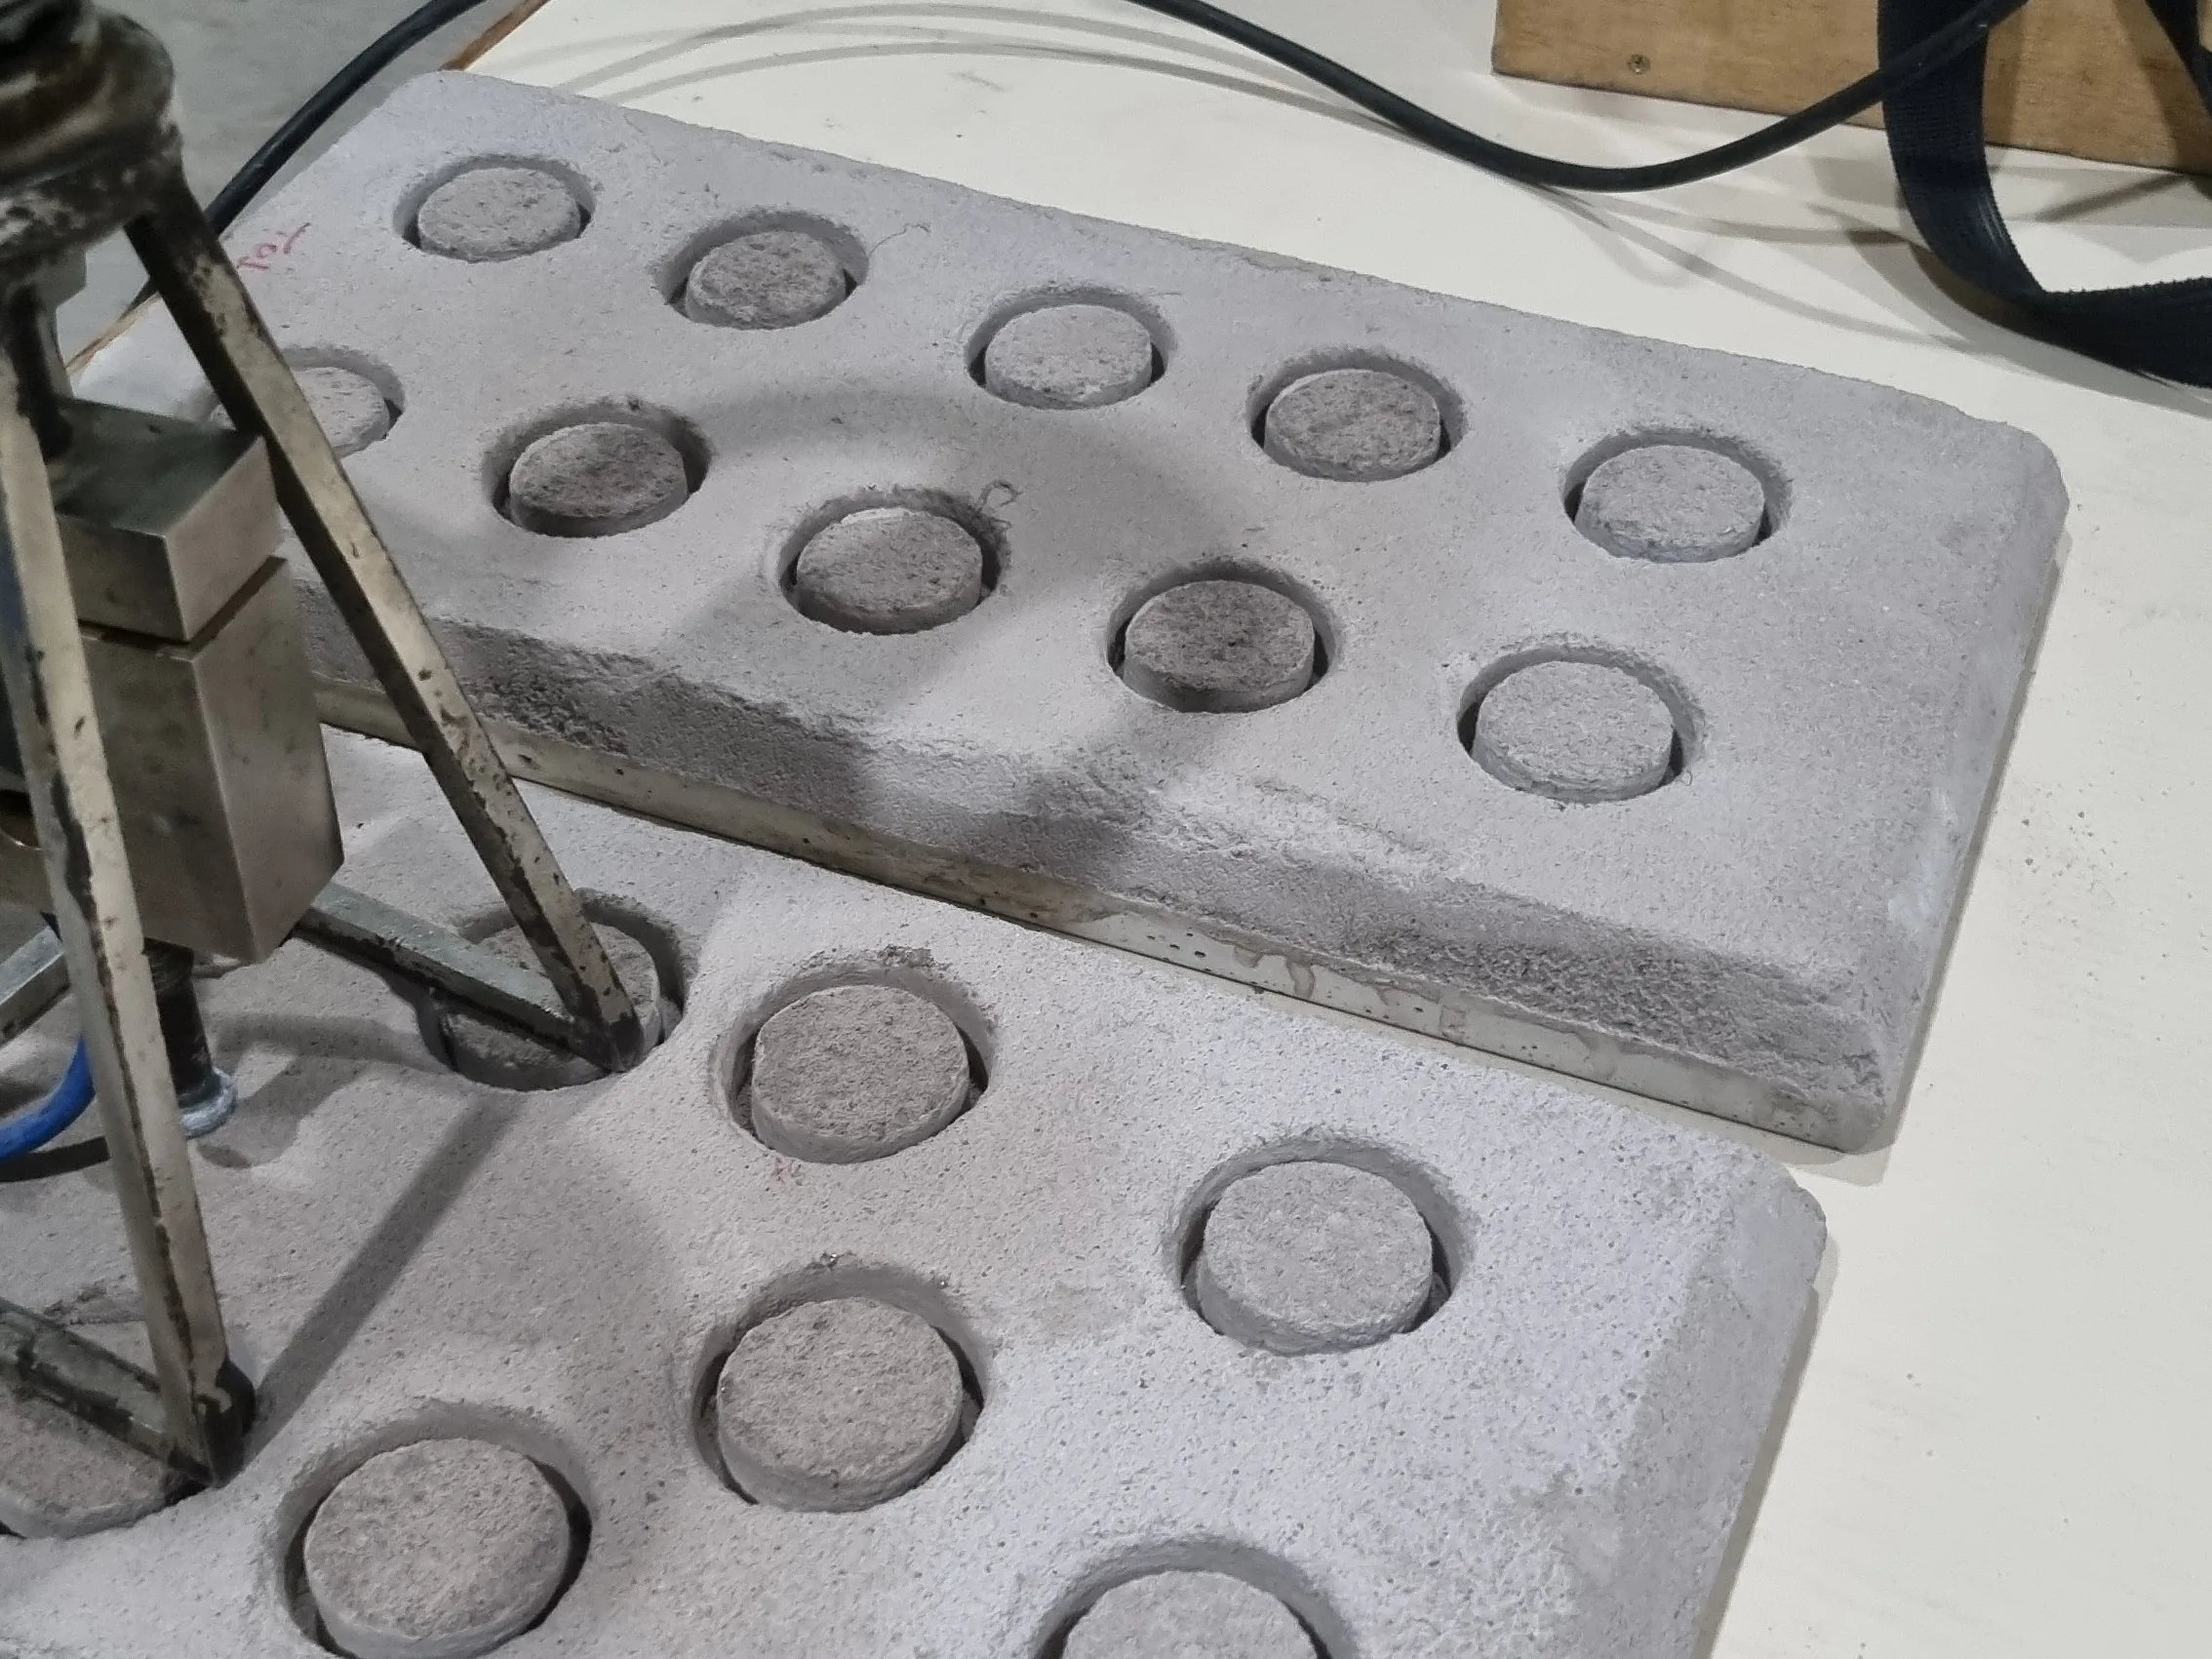
- Step 5: execute the pull-out test with appropriate equipment.
- Step 6: record the rupture load and calculate the adhesion strength.


Comments
Be the first to comment!
Leave a comment
All comments are moderated before publication.